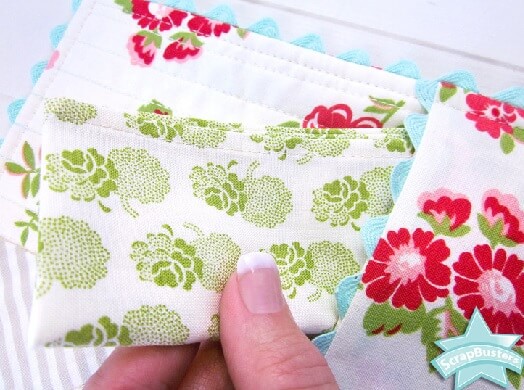
Mug Rug Pattern And Napkin Pocket To Go
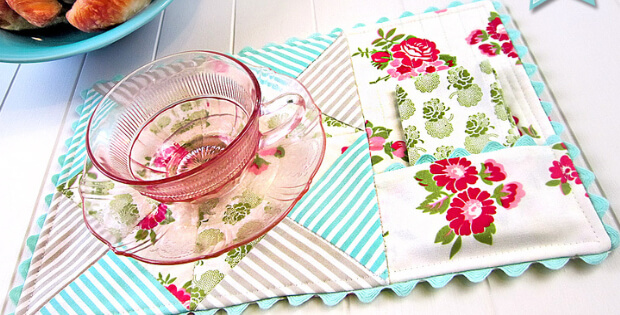
Mug Rug Pattern With A Fun Napkin Pocket Even A Teaspoon.
A mug rug is bigger than a coaster but smaller than a place mat, so why not add a napkin pocket. Get away with using scraps and create a delightful finish with rick rack. Make your own napkin to add. Fabric choices to match your kitchen decor or table settings. Go country kitchen or English rose stately. This mug rug pattern has it’s own personality.
This mug rug pattern will give you a finished size (excluding the rick rack) of 12″ long and 8″ high. The napkin is about 9″ x 9″.
For your fabric:
Two Fat Quarters (18″ x 22″) – one for the back, pocket panel and four of the inner triangles and one for the napkin and four of the inner triangles. If you choose not to use Fat Quarters, you’ll need approximate ½ yard cuts or appropriately-sized scraps from two coordinating fabrics.
Four Charm Squares (5″ x 5″) – two each for the outer triangles. If you choose not to use Charm Squares, you will need big enough scraps to cut two 3¾” squares from each coordinating fabric.
Scrap or ⅓ yard of low loft cotton batting.
1 yard of coordinating medium rick rack.
Overview How To:
For the back, pocket panel and four of the triangles
Cut ONE 8½” x 12½” rectangle for the back
Cut TWO 3″ x 4½” rectangles for the pocket and pocket facing
Cut ONE 4½” x 8½” rectangle for the pocket panel
Cut TWO 3¾” x 3¾” squares – cut each square along the diagonal to yield four triangles total
For the napkin and four of the triangles:
Cut ONE 10″ x 10″ square for the napkin
Cut TWO 3¾” x 3¾” squares – cut each square along the diagonal to yield four triangles total
Cut TWO 3¾” x 3¾” squares. Then cut each square along the diagonal to yield four triangles total.
Cut TWO 3¾” x 3¾” squares. Then cut each square along the diagonal to yield four triangles total.
NOTE: If you are working with striped Charm Squares, for perfectly matching cuts: place the two squares on top of one other with all the edges aligned and the stripes lined up. Pin lightly around the edge. Cut down into a 3¾” square through both layers, then cut diagonally from upper left corner to lower right corner – again through both layers.
Cut ONE 10″ x 15″ rectangle of batting.
Method
Make 4 squares by using set of four triangles to form a square.
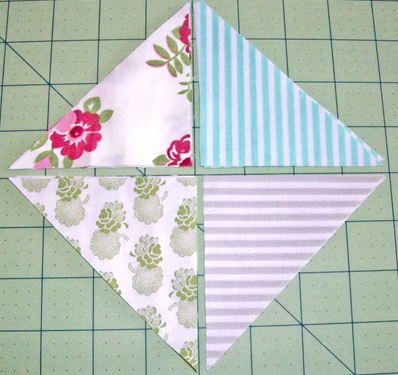
-Stitch the top two triangles right sides together, aligning their center sides.1/4″ seam allowance. Do the same for the two bottom triangles.
-Stitch the sewn pairs right sides together to create a finished square. You’ll end up with little “bunny ears” at each corner. Trim these away so all four sides of the square are flush.
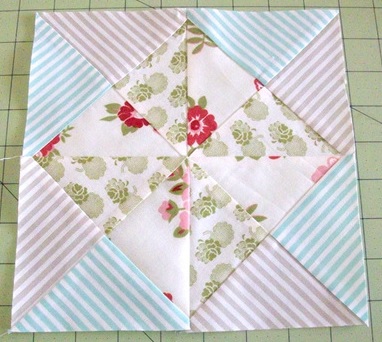
-Repeat to create the remaining squares from the remaining sets of triangles. Then arrange them to create one larger square.
-Stitch the top two squares right sides together, then the two bottom.
-Next, sew the pairs right sides together, aligning the long center sides and being careful to match all your seams and points to create the finished large square.
 Make the pocket panel with rick rack edging.
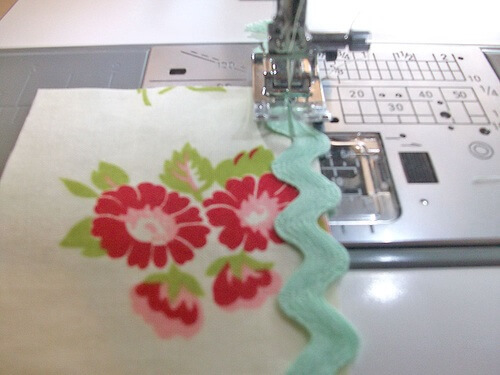
Attach to the main square…
 Open the pocket and pin the panel to the batting. Stitch and quilt.
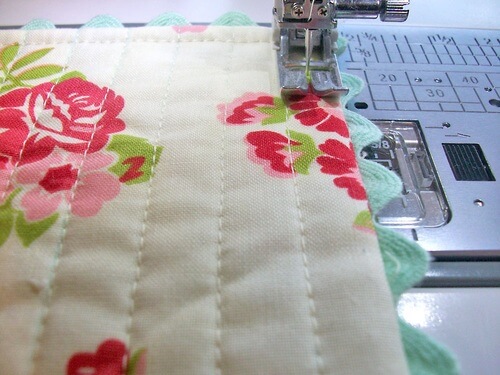
Make the cutest little napkin to add.
