New Quilt Purse Pattern Very Stylish
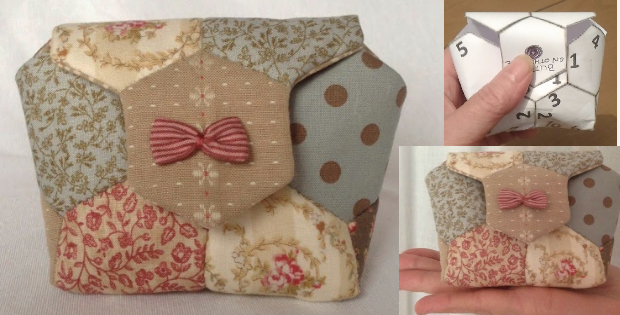
New Quilt Purse Pattern You Will Use Over And Over.
Use this quilt purse pattern to create your own style. I loved the colors of this one. When you start matching up fabric for this quilted purse pattern, a lot of choices suddenly open up in as much as completely modernising this purse for a very stylish look. Use pin stripe fabric, make it bold. What a lovely gift too.
At first, you will have to take a good look at this quilt purse pattern to figure out how the stitching works out. I finally got it right and it all made sense. I made up a paper try out as the quilt purse pattern did not have complete instructions. I will try and put it across as clearly as I can. Here goes…
To make this size quilt purse…
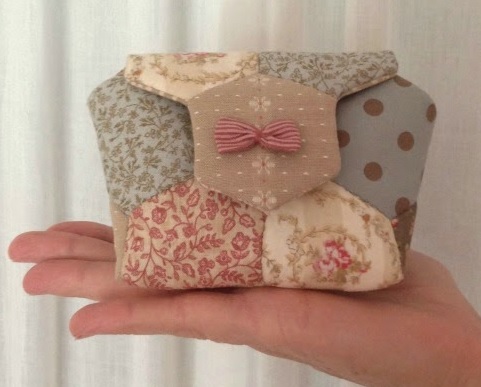
-Cut 16 x 3cm hexagons from fusible interfacing.
-Iron the hexagons on to the wrong side of your chosen fabrics, usually 2 hexagons per fabric choice.
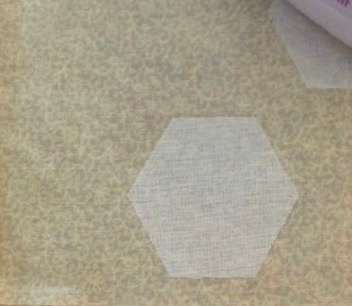
-Cut the hexagon shapes out of your fabric, cutting by just eye balling 1cm border all around the hexagon.
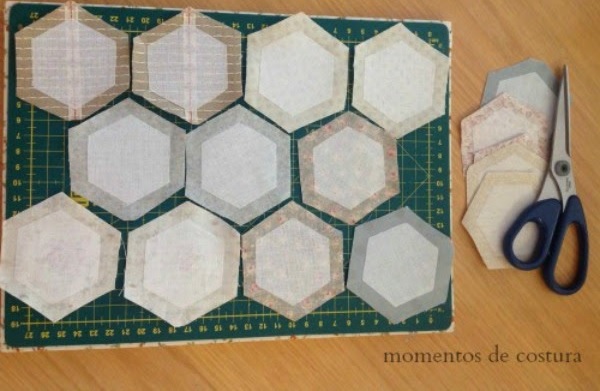
-Turn the hexagons over and position them as you would like.
Lay the hexagons out according to the shape below, and number them like the template. (The numbers are the edges that will be sewn together when you’re doing the final stitching to make the purse).
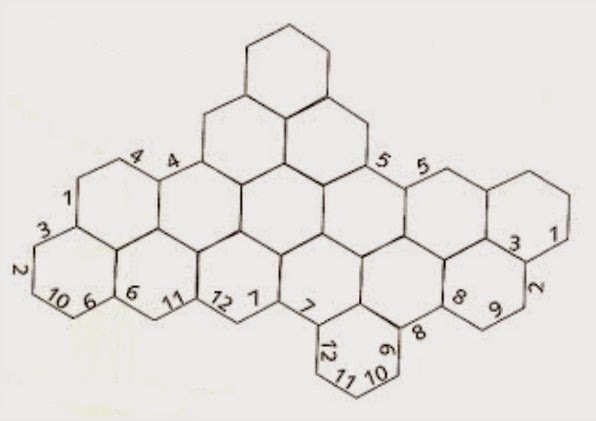
I’ve edited the pattern layout and numbering to make it easier… so when you cut out the template, the numbers are still there.
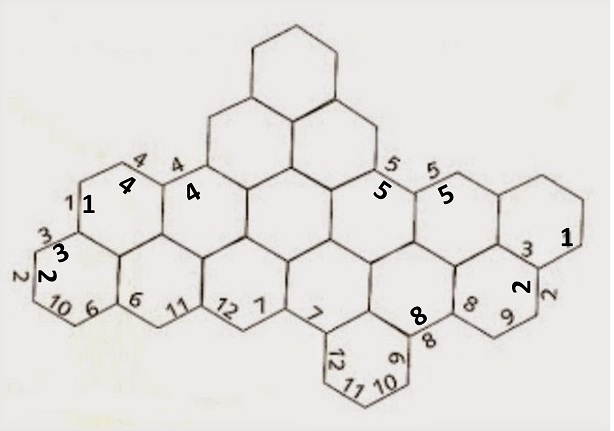
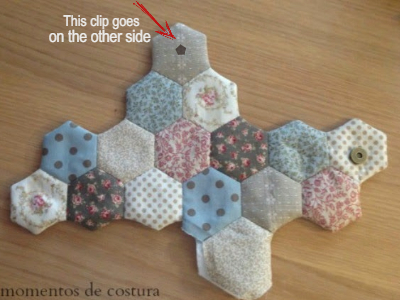
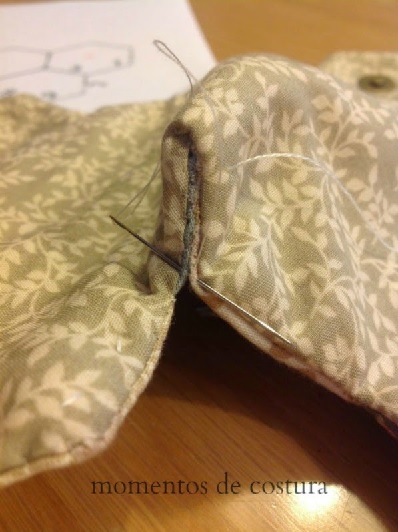
I cannot explain how to tack the edges of the hexagons. The best way is to look at this picture. Notice how only some of the hexagons edges are hand tacked with edges closed, and some are left un-tacked.

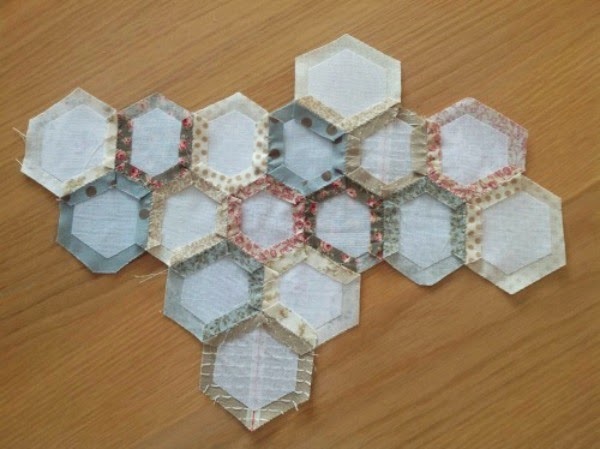
To get it right, lay the hexagons out in the template shape, and work out which edges need to be tacked in. Notice that the entire outline edge has not been tacked, leaving a 1cm seam allowance all around. The open edges of the border will be your seam allowance for when you stitch the backing fabric on. I hope I’m making some sense.
Use the hexagon quilt top as your template to cut the backing fabric and batting.
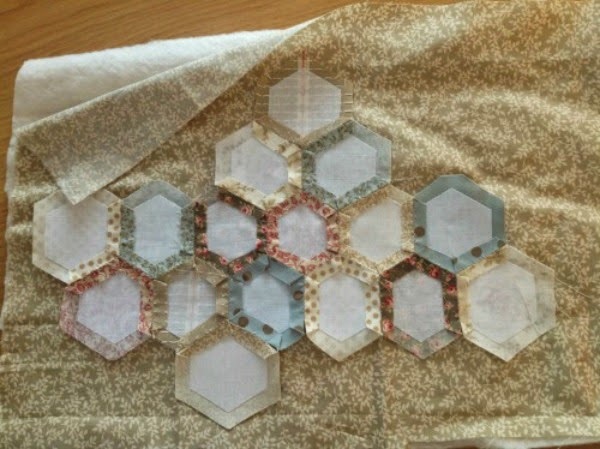
Sandwich all three layers, with fabrics right sides together. Stitch all round leaving 3 hexie sides un-stitched so that you can turn right side out.
Now is the time to sew on the button or clip. An ordinary press stud is handy, then place an embellishment on the top if you like.
Stitch sides together following the numbers…
This is where my paper template comes in handy. You might want to make a paper purse yourself to get a better idea. It didn’t take long but if you want to save the time making the paper try out, check mine out.
I sized the paper template to an A4 sheet of paper, then printed it out. Cut the template out.
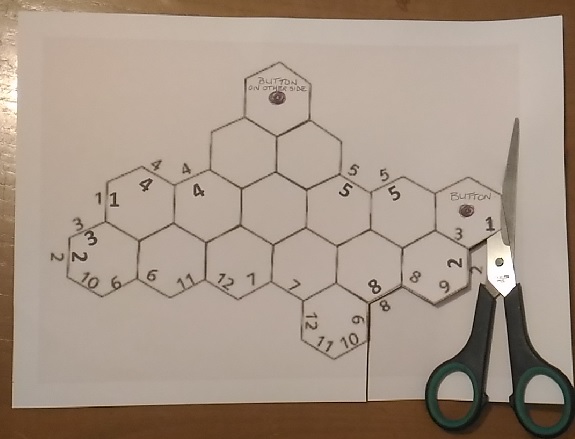
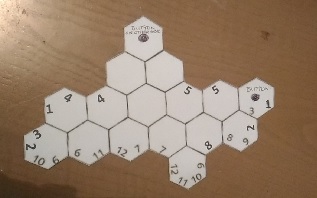 Then I joined hexagon number 1 to number 1.
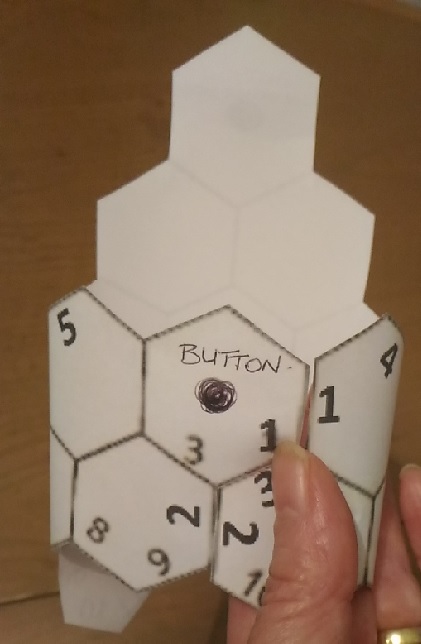
So I noticed immediately that if I were stitching this purse in fabric, it would be better to start joining at number 12, which is the bottom of the purse. Start by joining number 12 to number 12. I just used some tape for the paper purse.
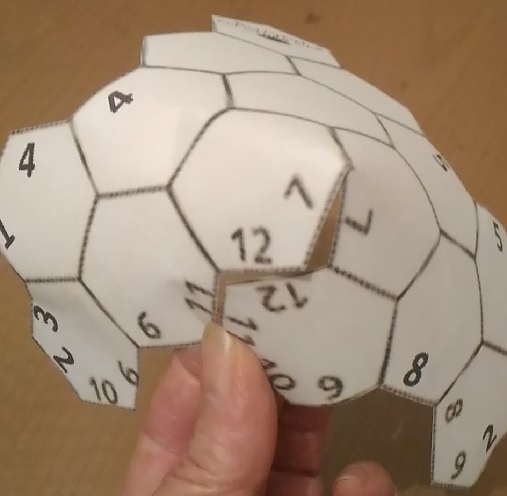
Then number 11 to number 11.
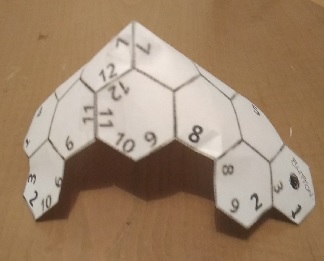 Then you could kind of see that number 9 to number 9 would be the next join up.
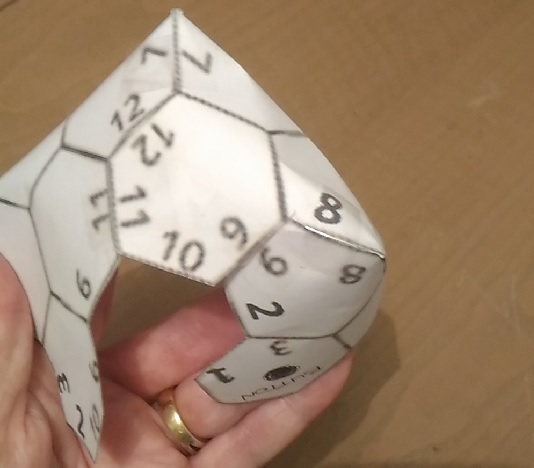 So that was the bottom of the purse. Then towards the front, join number 2 to number 2 and number 10 simply joins up with number 10.
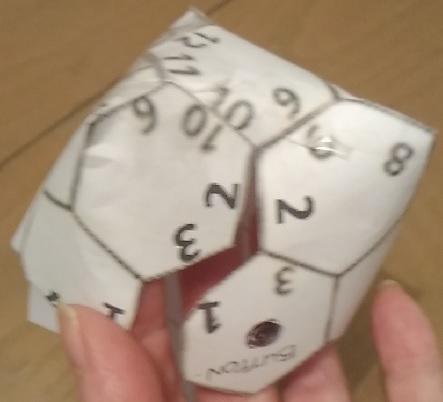
Turn the purse around and start joining the front section which is number 1 to number 1. Number 2 and 3 will just automatically come together.
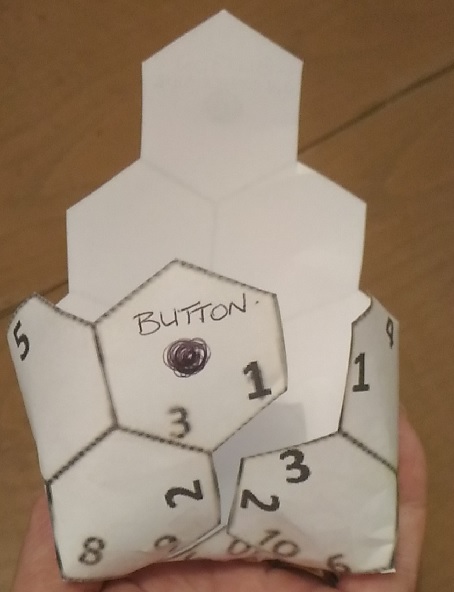 The purse pattern complete.
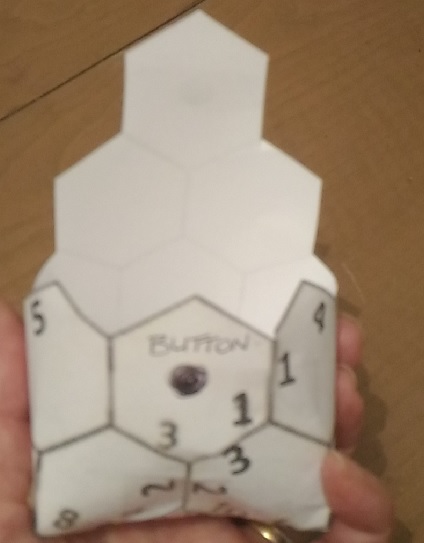 The top closes perfectly…
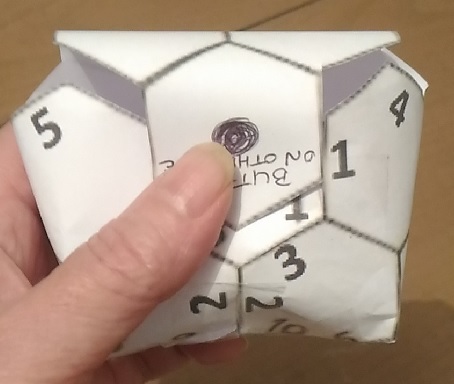 This is as close to the real thing…
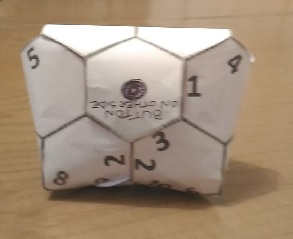
Back view.
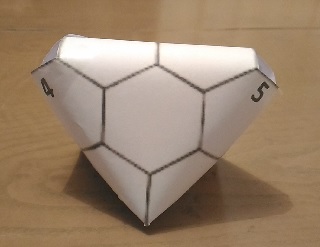 Inside. Everything matched up really well.
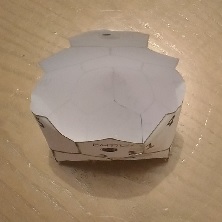
Before I made this paper try out, I was playing around with a miniature. It was just as cute and I realized you could make these quilt purses any size you like. The miniature would make a darling coin purse, and is just as easy.
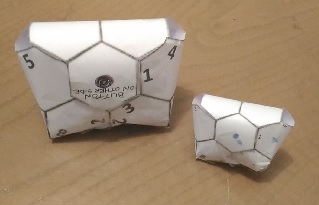
So here it is in fabric. For this size the hexagon should be 4cm (start with fusible web cut out at 3cm as mentioned in the beginning).

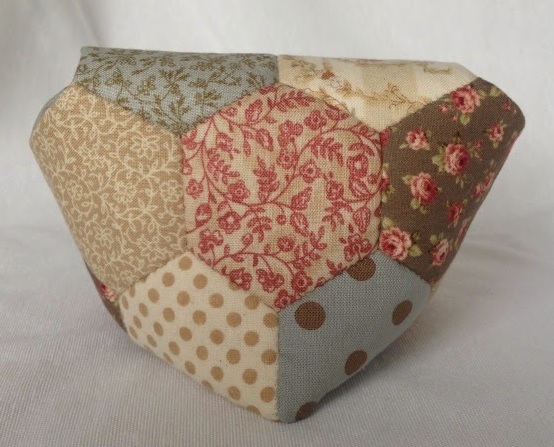
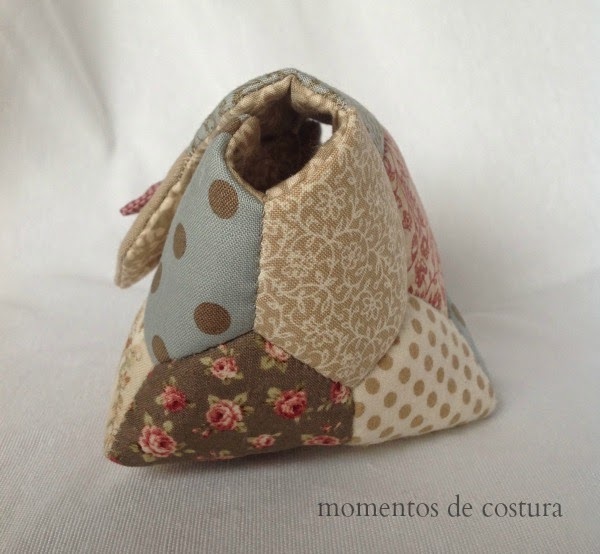
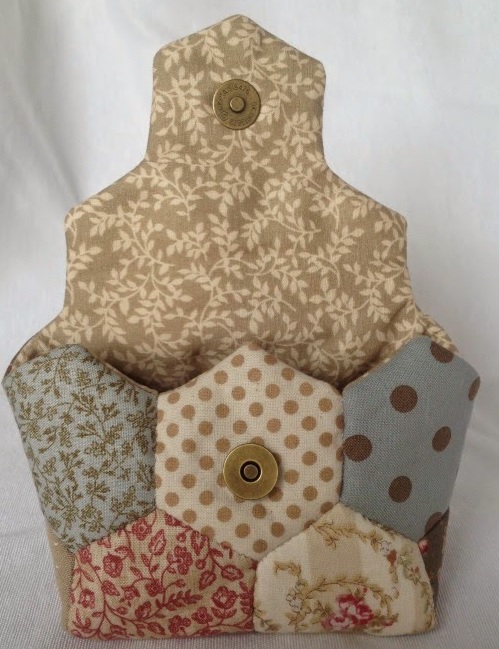
Article source:momentosdecostura.blogspot.com.au/

Designed by Elena Jorge of Momentos de Costura
The quilted purse pattern paper try out templates were done by Quilting Cubby.


