
These Mitered Corners Are Perfect And So Easy
A Clever Shortcut To A Tidy Mitered Corner
This technique is perfect for making cloth napkins, blankets, and even small quilt projects. This same process will work any time you want to stitch a mitered corner on any square or rectangle of fabric with an unfinished edge. It’s quick and easy, anyone can do it!
To achieve the mitering, there is no need to mark the fabric to begin with. Edges are pressed to begin with. There is no need to stitch the edge of the intended mitered corner. The pressed edge is simply turn right side out, pressed, and the binding is machine stitch to finish.

It’s super quick, and cuts out up to four steps in mitering, and with professional results every time. It’s a super time saver if stitching up a stack of items, and especially helpful when sewing gifts during a busy holiday season!
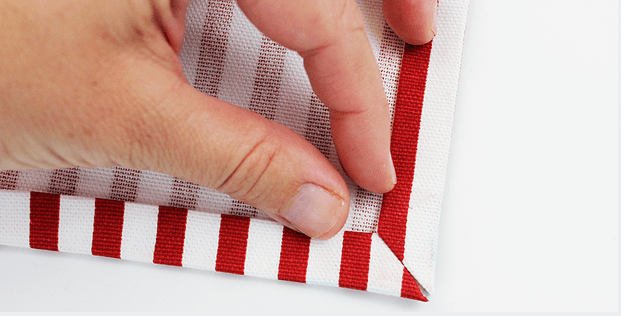
Using a seam gauge fold up the top and bottom raw edges of the fabric piece by 1/4″, and press. Fold the same edges over at 1/4″ again and press well. Continue in the same manner for all four edges.
Amy of Positively Splendid explains:
Open up the pressed folds. Use the marking pen to trace the two pressed lines along each adjoining edge, forming a hashmark where the lines intersect.

You will get away without marking once you had some practice runs. Trim away the corner piece where the squares intersect, at a 45 degree angle and fold over the edge 1/4″. Fold the left side back over, and the same for the right side. Complete all four corners and machine stitch about 1/8″ from the inside folded edge, to finish.
Give this shortcut method a try. For more detail, Amy’s free tutorial explains the easy steps that anyone can do.


