
Winning Tactics For A Pillowcase Pattern
Hugs All Round When You Make This Pillowcase Pattern.
The best part of this pillowcase pattern is that you don’t see any seams. Everyone loves custom made pillowcases, and I love the fact that you can choose the exact fabric that you want. The pillow or pillows are kind of a feature piece in the bedroom decor, and create the theme of the room. It always so inviting to see puffy pillows on the bed adding color and atmosphere. This is an interesting pillowcase pattern in the fact that to decide on fabric and layout, there are three numbers you have to remember. That’s it! Even beginners can make these charming pillowcases. Follow the pillowcase pattern instructions below. There’s a video showing exact steps too.
For this pattern we have
-our main piece
-the trim, and
-the cuff.
Now, remember these three numbers, 3, 9, and 27.
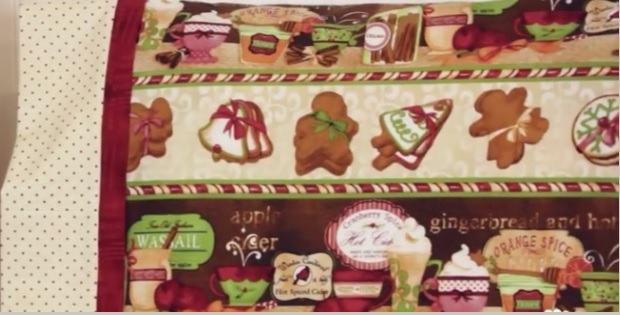
That means of the main fabric, your inspiration piece, you’ll cut 27 inches by the width of the fabric.
Then for your accent piece, the trim, which is the strip down the side of the pillowcase, you’ll be cutting a three inch wide strip, the width of the fabric.
For the cuff you’ll be cutting a nine inch piece, also the width of the fabric.
3 , 9 and 27.
Now, lay the fabric piece out, right side up. Keep it on a straight line.
Lay the cuff on top. Remember to keep the fold on the left, and the selvage on the right.
Lay the trim on top of the cuff.
Once all laid out, trim all of the edges even. You would think that manufacturers would have all fabrics exactly the same width, but they’re not. Once you have laid out your fabric pieces the edges have to be trimmed even.
Next, press your accent piece wrong sides together. Now, start to lay out the pieces.
> Lay the cuff, right side up, being sure to line it up on one of the horizontal grid lines of your board.
> Lay the main fabric, right side up, on top of the cuff. Be sure to bring the edges right together.
> Then, lay the accent piece on top. The raw edges will be away from you. Line them all up together.

Next, roll the main fabric towards the accent piece. Roll it right up and stop when you are in line with the accent piece.

Then fold over the cuff, and pin in place, being sure all of the raw edges are together.

Stitch the entire length with a quarter inch seam allowance. Secure the edge really well. Then pull the body of the main fabric from the inside, out.

Wow. no seams!

Beautiful!

Tip: Now one thing you have to make sure that the pattern is running the proper way! No problem if it’s an all over print.
Everyone just loves custom made pillowcases. They make great gifts!
For further instructions on this pattern, watch the video below
Images:Youtube Shabby Fabrics


