Sure Fire Bias Binding Tutorial That Works Super Easy
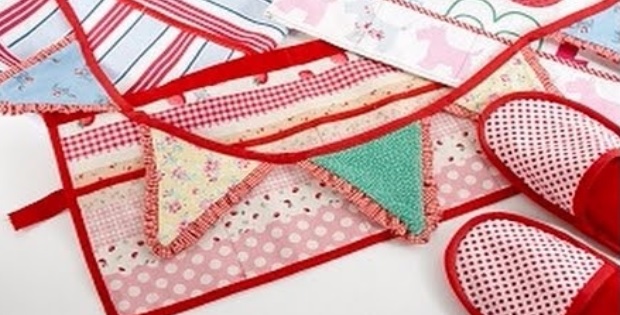
Bias Binding Tutorial Cut And Apply In A Flash.
I never imagined that making bias binding could be so easy. I’ve tried making edgings and finishes and they work out ok. But sometimes nothing ‘finishes’ quite like bias binding. On quilts and even place mats, I found that the bias binding works out quite expensive. Next step.Watch this bias binding tutorial and make your own and you will always have a perfect color match or co-ordinate. Here how to cut the strips, fold, and sew onto a project. Beautiful finish around curves and mitred corners to give a professional finish to your projects.
You’ll need:
> A self cutting mat, at least size 24 inches by 17 inches. Try to get one that has inches on the one side and centimetres on the other. One of the secrets to perfect bias binding is the forty five degree angle you have to cut at
> 45 mm rotary cutter. If you don’t know which one to buy, go for the 45mm.
> A 24 inch rectangular ruler.
Line the straight edge of the selvage along the grid line of your mat. Start by cutting the corner of your fabric. use the ruler to line up and be ready to cut a forty five degree line. Cut straight across.
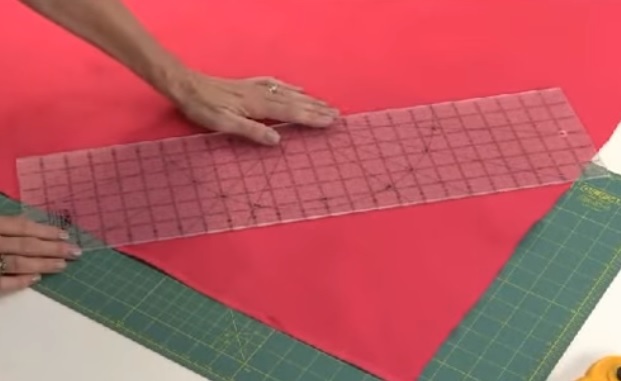
Cut strips 2 inch wide at a forty five degree angle. If you need a one inch bias tape, you’ll need to cut the fabric in two inch strips because the bias is folded over in half in order to meet in the centre.
Cut quite a few strips.
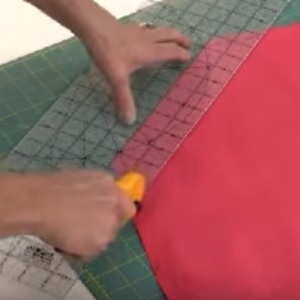
Before you fold, sew the strips together, trimming selvaged edges to make them neat.
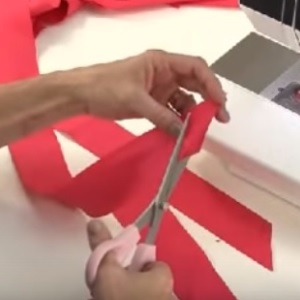
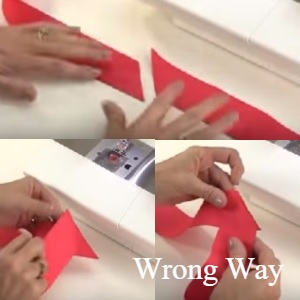
When you join the pieces together, there’s a wrong way to do this.
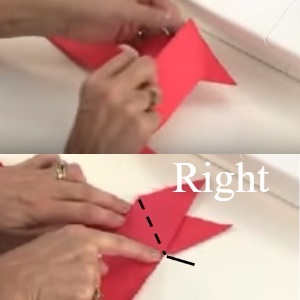
Line up the edges and stitch a forty five degree angle like this.
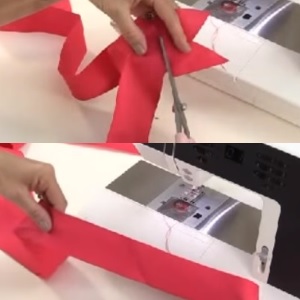
Trim the ends off. Viola!
Watch this bias binding tutorial for tips and tricks. Thanks for sharing Debbie.
Images:Youtube debbie shore


