Home Is Where These Heart Pot Holders Are
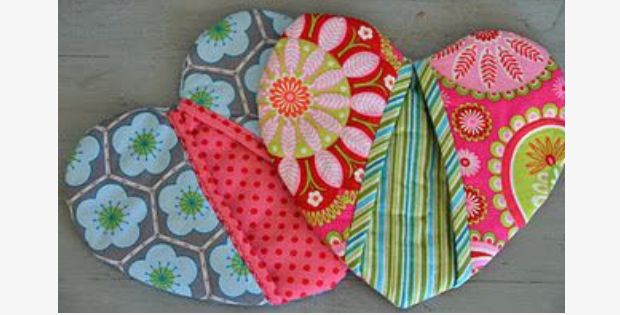
Heart Pot Holders With A Few Changes Become More Chunky And Fun.
A simple heart shaped potholder pattern is easily changed up to look more modern.Use bright prints with a mix if florals and stripes. Get creative with the binding by matching binding and inner fabric. These trendy heart shaped pot holders are bright and pretty in the kitchen… and on the table. Easy to make from a few pieces of fabric scraps, a lovely gift for baking lovers.

Jen made hers using a Martha Stewart pattern from a while back. The pattern mentions using bias tape, but Jen from Compulsively Creative changed it up by making her own binding and made the finish look a little more chunky. The same fabric used for the binding was also used for the inside of the pot holder.
I read somewhere to use a good grade of ironing board material for the protective layer/backing. That’s quite a good idea if you would like to forfeit your choice of a pretty fabric. Adding a layer of thermal batting works fine.
Fabric requirements for one Heart Pot Holder:
- Cotton batting
- Cotton fabric (3 stacks of 12-by-12-inch pieces)
- Bias tape or make your own binding
Begin by downloading the pot holder template. Enlarge it by 200% before printing. Then cut out ready to use. Please note, it says to print the template at 200%, which you might find too small for family use. There was a suggestion to make it a little larger, but this is a personal choice. (Scroll down and click the link provided in the green box at the end of this page to download the heart template).
Fold three layers of cotton batting in half. Place the straight side of the batting template on the fold. Pin, and cut out the batting. If adding a layer of thermal batting, then cut one in the same way. You will only need one layer of thermal batting for the back of the heart. Comprende so far? Ok.
Stack three 12″ x 12″ fabric squares. Fold in half. Align heart template’s straight side with fold. Pin and cut out. Lay pocket template on one folded fabric heart and cut on diagonal line.
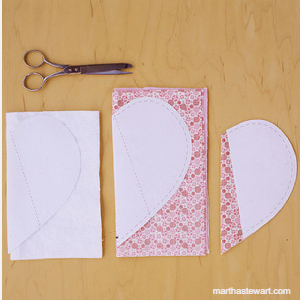
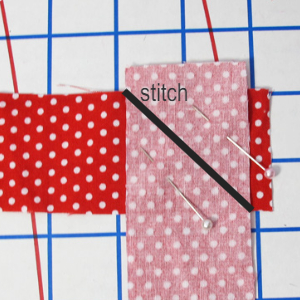
The first step is to sew bias tape to the straight edge of the pockets. Backstitch ends. Before getting started with the first step, consider making your own binding. It’s fairly easy and this method ensures perfect binding every time. (A quick read…about three paragraphs and you’ll remember it forever). Cut strips on the bias of the fabric, at 2 1/4″ wide. Place the fabric strips at right angles and stitch diagonally across as shown. A tip found for making your own binding: Notice in the image below, when placing fabric at 90* angles, it’s suggested that the fabric is not placed at the very end. Instead, place the fabric a little in from the end as shown in the image. That way you get to see exactly where to stitch to. You might never get wonky binding again. Simply trim that bit off after.
Sew the bias tape or binding to straight edge of pockets and backstitch ends.
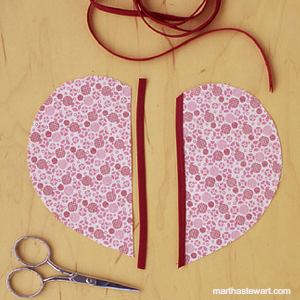
From this point, Jen changed up her pretty heart pot holder in this way:
Layer the pieces, starting with a fabric heart (fabric right side up), another fabric heart (fabric right side down), layer of thermal (if using) then layer of batting, (if adding a layer of thermal batting, opt for using thin regular batting). Stitch around the edge, leaving about 4 inches unstitched on one side of the heart. Trim the seam down a little and/or layer seam. Turn right side out. Push edges out (I use a chopstick). Press. At this stage, add a piece of binding and pin where you would like the loop. Either to the side of the heart, right in the middle, or at the top. Or simply make without any loop at all.
To sew the pocket on which already has binding attached: With fabric right side down, lay the pocket on what would be the back of the heart, (the side that has the themal batting). Pin. Stitch around the edges, closing the four inches of unstitched edges at the same time. Turn right side out, bringing the pocket to the front. Press. Notice that the binding matches the inside of the mitt. Looks cute. There is no binding around the outer edge and the pot holder looks more chunky.

To begin with Jen used this Martha Stewart technique and made the changes as mentioned above.Follow these steps:
Layer the pieces, starting with a fabric heart (face down), batting, another fabric heart (face up), and pockets (face up). Pin. Sew outside edge, leaving 1/4-inch seam allowance. Trim edge as close to stitching as possible.
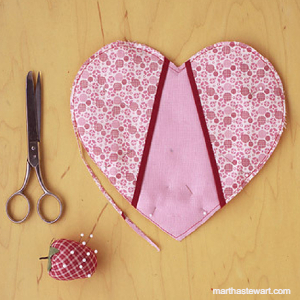
Sew binding to heart, starting at top center, folding ends under.
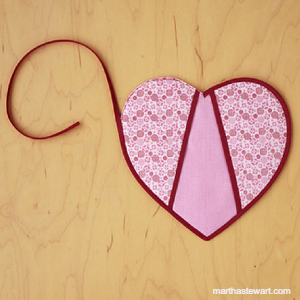
Sew a five inch piece of tape or binding to the pot holder.
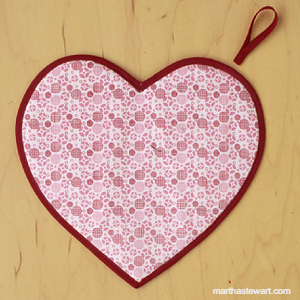
Have fun making your potholders, something and new and bright for your kitchen. Have fun with bright colored fabric to make these fun chunky potholders.
There’s a heap of these colorful fabrics on Etsy for around $3.00 and up. (Tones may vary from the images)
Suggestion:
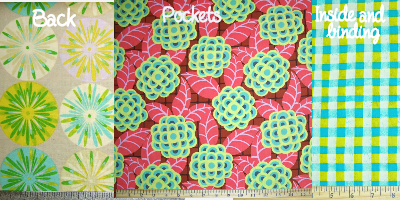
Purchase Free Spirit Kumari Garden Here
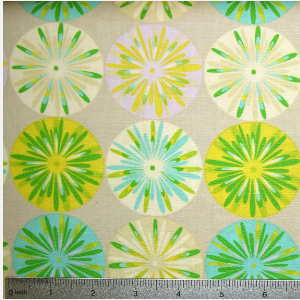
Amy Butler Cameo Tea Rose Here
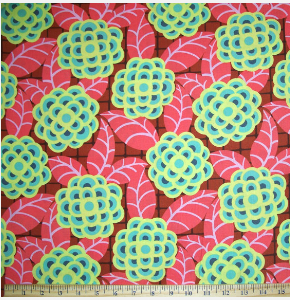
Purchase Moda A Stitch In Color Turquoise Plaid Here
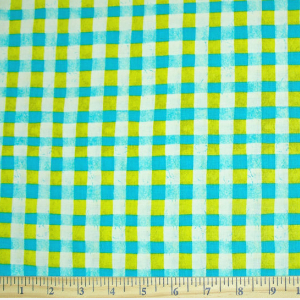
Suggestion:
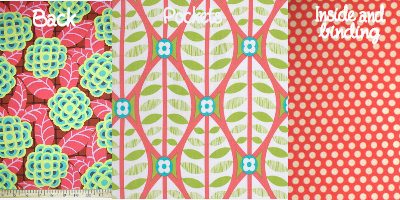
Get This one Amy Butler Cameo Tea Rose
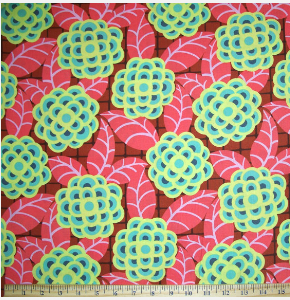
Free Sprirt La De Da Buttonwood Coral Purchase Here
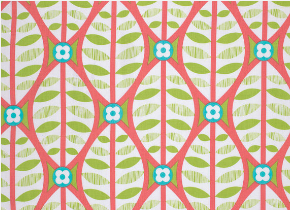
Purchase Fabric Traditions Polka Dots Here
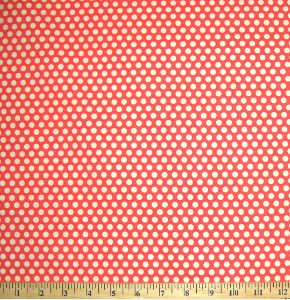
You might like fabric similar to the fabric Jen used, such as ‘Mimi’s.
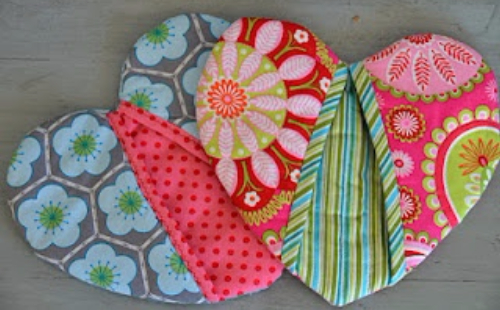
See more Mimi’s Fabric
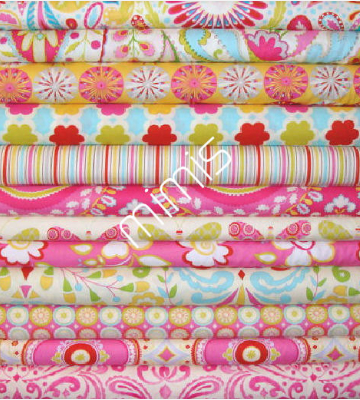
More fabric ideas for these pot holders.
Riley Blake Decadence Green Floral Purchase Here
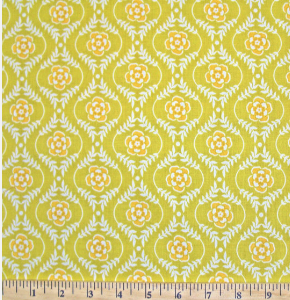
Denise Schmidt Flea Market Fancy Medallion Red Purchase Here
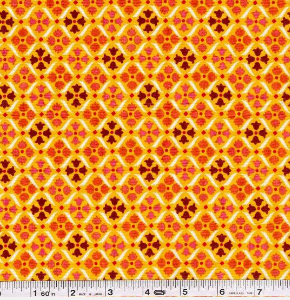
Henry Glass Nine Dots Plaid Yellow Purchase Here
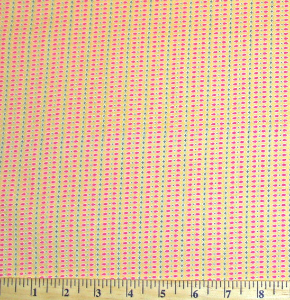
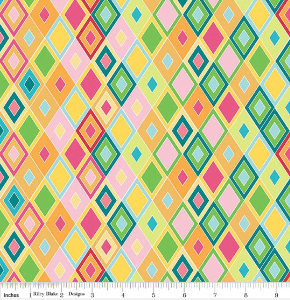
Riley Blake Madhuri Geometric Diamond Orange Purchase Here
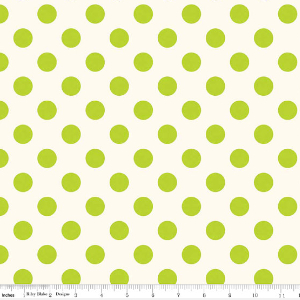
Riley Blake Le Creme Medium Polka Dots Lime Purchase Here
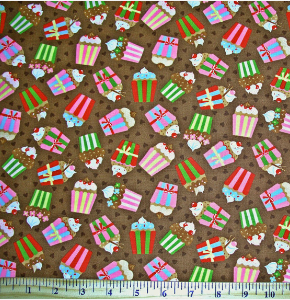
Moda Cherry On Top Chocolate Brown Purchase Here
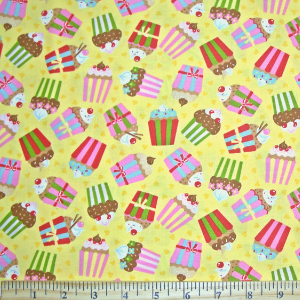
Moda Cherry On Top Banana Yellow Purchase Here
Amy Butler Belle Oxford Stripe Rowan Westminster Purchase Here
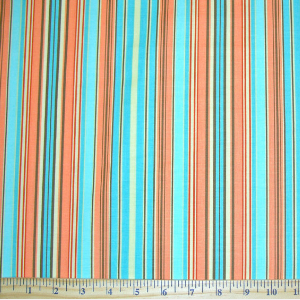
I’ve had so much fun finding all of these fabrics that would make the nicest chunky potholders like Jens. Hope the tips, fabric suggestions and where to find the fabrics have helped. Have fun making these heart pot holders!


