
How To Square Up Fabric That Everyone Needs To Know
Whether You Pre-Wash Fabric Or Not
Squaring up fabric not only renders accurate cutting for quilt blocks, it also helps against fabric waste. Whether you’ve pre-washed your fabric or not, you will nearly always have to deal with jagged edges, irreparable off-center folds and even crooked selvages!
Catch up on these quilting tips to square fabric safely before making cuts for your project. A crisp neat piece of fabric well pressed, prepares for accurate cutting and easy piecing. However, cutting, handling, and sewing, affects bias edges, straight grain or lengthwise grain edges, of any piece of fabric.
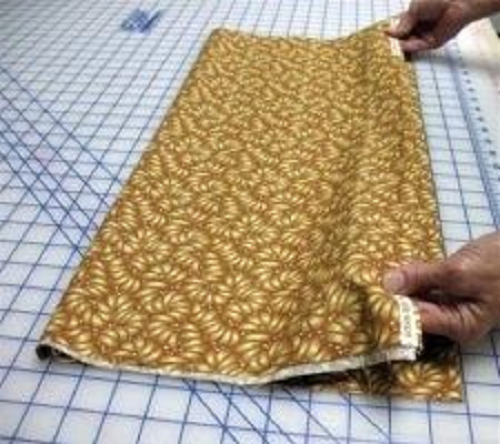
Alice and Terry of Tidbit Quilting suggest before attempting to square up, press fabric to smooth out stubborn creases and puckers. Then line up the selvage edges as best you can and iron to smooth out all the wrinkles. Fold fabric in half with the folded edge closest to your body. Then fold again aligning the fold with the selvage, resulting in four layers of fabric. Be careful when folding! Every fold introduces an opportunity for error. Try to keep the fabric that remains on the mat very still and match up the first fold to the selvedges carefully.
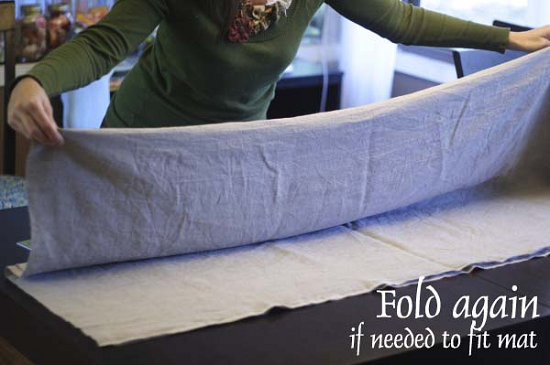
If fabric is too long for the cutting mat, accordion-fold the yardage to your left (or right if you are a lefty) leaving the end that you are going to square up on the cutting mat.
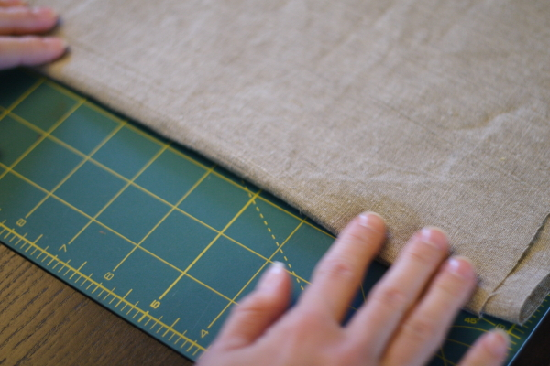
Align the folded edge closest to your body, to a vertical line on the cutting mat. At the edge to be cut, align the ruler to a horizontal line on the quilting mat. Do a double check and square up the bottom of the fabric by cutting at a 90 degree angle to the fold.

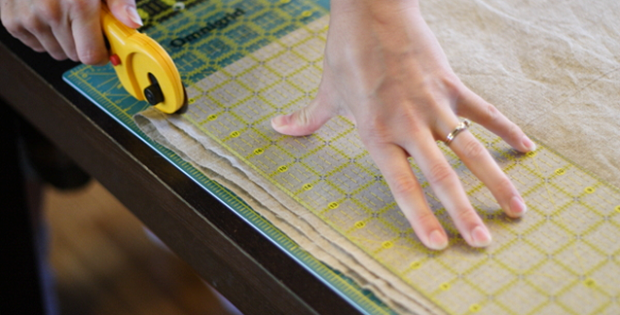
While cutting to keep the quilting ruler stable, spread the fingers of your left hand on the ruler and apply a little pressure. Hold the rotary cutter against the side of the quilting ruler and begin rolling the cutter forward while applying firm, even pressure. Walk your left hand (don’t slide it) and re-position your hand as you advance the rotary cutter, without lifting the ruler from the fabric until it has cut through the folded edge.
Rachel Hauser explains more do’s and don’t in her easy read tutorial.


