
Make Your Own Fabric Labels from Things In Your Pantry
Fabric Labels Tutorial
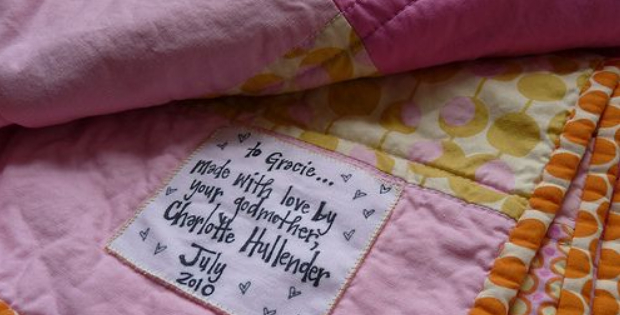
Don’t forget to put your signature or special message on those ‘Made With So Much Love’ quilts! Labelling, or special massaging when making stacks of quilting projects could add an unwanted expense, not to mention the time needed to order etc. Even more so if there are only a couple of items needing fabric labels. The label is so special, especially if the quilt project is a gift. It’s also nice to label your own personal projects. Write a message to yourself!
If the quilt is a keepsake, the message carries even more value. What better than to label your quilting with your own personality stamped on.
Here’s the best tute I’ve seen on making your fabric labels with stuff you’ve got in your pantry! Neat! and cheap, not to mention quick and easy. This tutorial is not only for fabric labels but for printing on fabric for any project from your home printer.

Here’s what you’ll need:
– Computer/inkjet printer
– Freezer paper (it’s the paper that is waxed on one side only)
– Reynolds Aluminum 391 Reynolds Freezer Paper
– Light weight and light colored cotton
– Baking Tray, the deeper one.
– Vinegar
– Water
– Iron and ironing board
– 2 Scissors (paper and fabric)

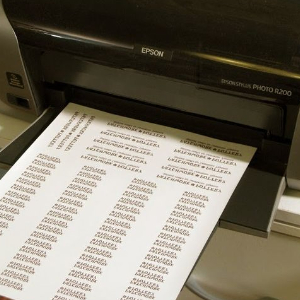
Make up your message or logo in Photoshop, or even Mocrosoft word. Use dark ink, or a dark color at least. Choose a font that’s easy to read. Keep a spacing of an inch or more between them. Test print a few times on regular plain paper before you go to the trouble of making a label and not liking the look or size of it afterwards.
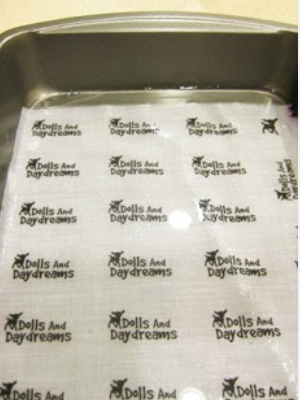
Cut a piece of freezer paper 8.5 x 11 inches (A4). Place it wax side down, which is the shiny side, onto your fabric. With your iron preheated to a medium to high heat, iron the paper side of the freezer paper. You’ll start to see the freezer paper adhere to the fabric. If any air bubbles appear keep ironing that spot, it’s just where the wax and fabric haven’t attached yet.
You will need to trim the fabric you’re going to use for the labels to the same size at the wax paper. Make sure the ends are very neatly trimmed with no frays as this will cause ink smudging.
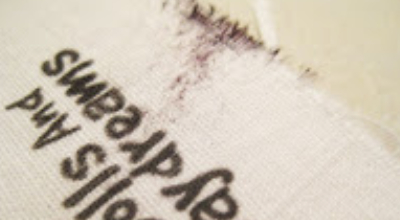
Place the fabric with freezer paper still attached on the printer. Press print from your computer. All being well, the printer will print your label design onto your fabric! At this point the ink is not color fast yet. Wait for the ink to dry.
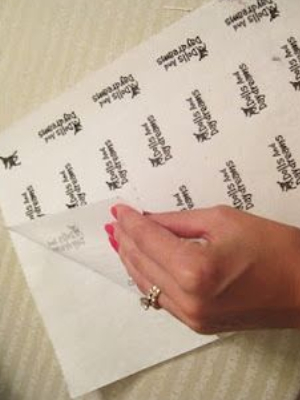
Once dry, peel away the freezer paper.
Next, put some white vinegar into a baking tray. Just enough to cover the labelled fabric. If it’s only one or two labels, a pot or tray large enough to lay the label is sufficient. Remove from bath and gently rinse under water to get the vinegar smell out. Hang out to dry in the sun. Or use a hot hair dryer.
The fabric labels are ready to cut and sew. You might like a frayed edge look, or if you’re worried about fraying, iron on some adhesive interfacing. Cut out the shape you would like, and/or embroider the edge. If it’s a very personalized label, embroider something pretty on the label. Even a very closed zig zag stitch for the finish looks great. Once the label is printed on, it looks so pro. Anything you add just gets better!
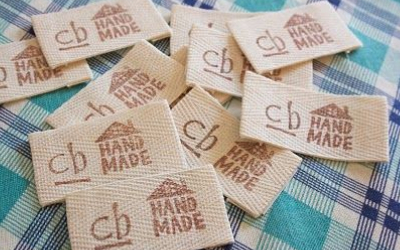
Here are some label ideas.
These postal stamp ones are nice for a message.
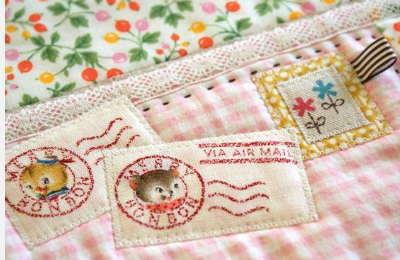
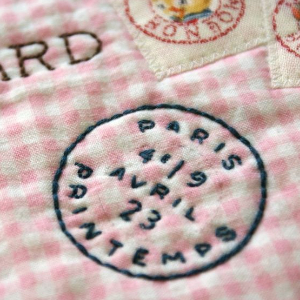
Download the templates here for the postal stamp labels. Simply add in what you would like.
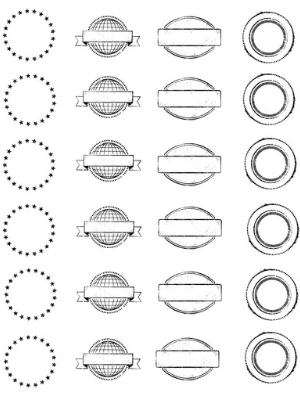
Here are some printable vintage designs. Just go ahead and print them out. Use one or all, whatever your special fabric label. Download here.

Article:dollsanddaydreams Feature Img:whip-stitch.com


