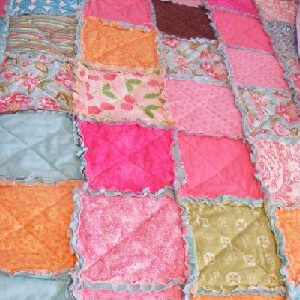
Perfect Raggy Quilt For The Raggy Quilter!
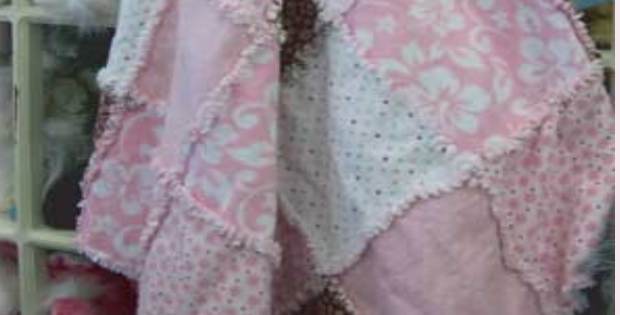
Raggy Quilt To Capture Any Quilters Heart.
When I look at a raggy quilt the first thing I think is that it will never date. Raggy quilts fit with so many different decor aspects, from baby raggy to lounge rag throws. To add, use this same technique to make a table runner. Decide the lay out out of the print on the top. You also have the choice for the back to be one fabric print or simply use the patchwork blocks as your backing. This pattern has five rows going across and five rows going down. The number of squares you use simply determines the size of your raggy quilt.
Choose five different fabrics, but the idea is that they co ordinate well. Look at these for example:-
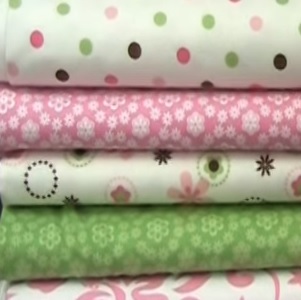
Raggy Quilt Pattern
Rag quilt pattern fabric and Supplies:-
1. 40 8″ squares of flannel. Flannel is usually used for
raggy quilts, but even a cotton print or vlad fabric is great.
2. Spring action scissors such as a fiskars soft touch scissors.
3. Needle and thread, (fill your bobbins).
4. 1 1/4 Yards Batting
Rag Quilt Instructions
-Cut fabric into eight inch squares.
Tip: For quicker cutting. Put fabric wrong sides together, using a rotary cutter, cut the block. This will give you two squares with one cut. Great!
-With wrong sides together, stitch two blocks together, using a 1/2 inch seam, all the way around.
-Stitch all of your squares this way until you have your whole stack.
-Find a large work space, either the floor or very larg table because you’ll want to lay out the squares to determine your pattern.
-Pin blocks together in rows of five blocks across.(or however many blocks across that you’ve decided on) Stitch the blocks together to make panels.
-Lay out the strips the way you want them first so there’s no mistaking how you want your pattern.
-Next, stitch the panels together. Be sure to have one seam to the right and one seam to the left, or else you’ll be trying to stitch through 12 layers of fabric!
-Match your seams, finger press one seam left and one seam right. Pin block panels together using 2 pins, and pin downwards. Stitch all seams.
-Start snipping. Snip about an eight of an inch every half inch.Take care to not snip into the quilt, and don’t snip into the seam for sure.
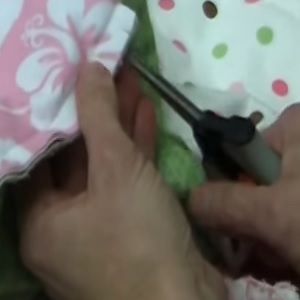
Tip: Now is about the time you’ll be wishing for a spring action scissors. This raggy quilt needs alot of snipping. Get something like Fiskars soft touch scissors or a Gingher spring action scissors.
It will save time, but more so, an achey hand. Believe me, you’re going to need it.
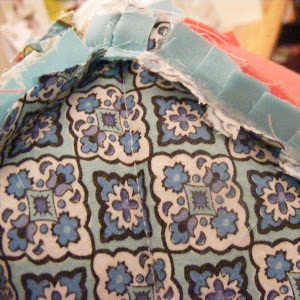
Image:imperfecthomemaking.com
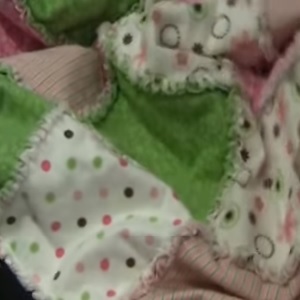
Look at the result! Snuggly.
Tip:-
Wash your rag quilt in warm water and detergent, and don’t use fabric softener for this first wash. Shake quilt well before throwing into the dryer. At this stage don’t use a dryer sheet either.You will need to clean lint trap once or twice during drying.
Here’s the full video tutorial:-
Another raggy quilt example. Just look at the beautiful colors!
