Scrappy Quilt Tote With A Trendy Button

Scrappy Quilt Tote Bag To Make
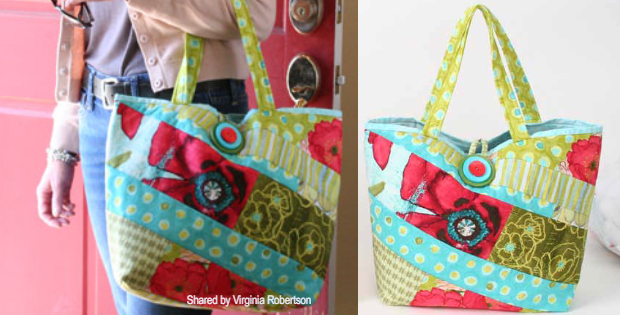
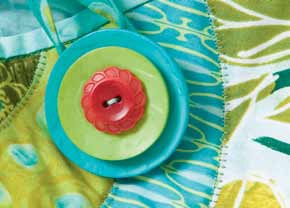
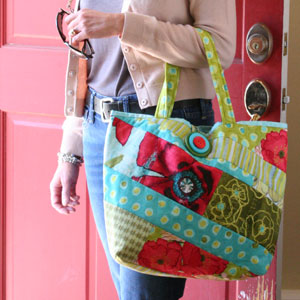
Make this adorable scrappy quilt bag from scraps. Choose fresh fabric prints, put them together to make your own design. This one piece bag is made using a quilt as you go approach and that means easy and fun. Put it together using 2 1/2 inch wide strips. You can also vary the widths as you like for depth and dimension. In this pattern, 1 1/2″ up to 4 1/2″ widths were used. Decide the widths according to the patterns and motifs in your fabric, and then have fun deciding how to show the motifs off! Then add the trendy button. Use 3 stacked buttons with small felt circles
layered between them for extra dimension. I love it!

Match or contrast your lining fabric since at least 1/4″ strip of lining fabric will be visible at top of bag, which I thinks just adds the touch to make it look pro.
For the fabrics you’ll need:
1 rectangle of muslin
and from the prints,
12 strips 2 1/2″ x 22″
2 strips 2 1/2″ x 16″
2 strips 2 1/2″ x 12″
2 strips 2 1/2″ x 6″
For the button loop – 1 strip 1 1/2″ x 8″
For the handles – 2 strips 4″ x 20″
Aqua Mottle or lining fabric of your choice,
For the lining – 1 rectangle 18′ x 30″
For the pocket – 12 1/2″ x 18″
Fusible Batting
1 rectangle 18″ x 30″
2 strips 1″ x 20″
To put it all together, start by fusing the batting to the muslin. Have fun putting the fabric pieces into position and arranging them as you like until you’re happy with the design. Cover the entire area of batted muslin. Stich the strips through layers. Sew the handles with the batting, then make the loop and baste them in position on the bag.
Fold the bag in half right sides together and stitch side seams.
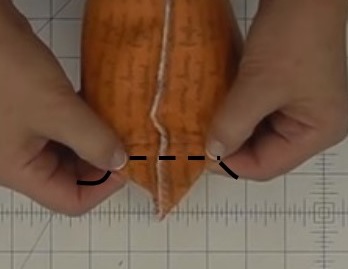
Box the corners by pulling the sides of the bag out at each corner of the bottom of the bag. 2 1/2 inches from the corner, draw a line from side to side. Trim the corner off leaving a 1/2inch seam allowance. Do both corners.

Put in the lining and finish by attaching your button!

Images Article and Pattern:Virginia Robertson Designs


