Master Free Motion Quilting The Swirl In 24 Hours

Free Motion Quilting The Swirl.
To begin with, how to get started free motion quilting the swirl. It helps to practice a few swirls on some quilt blocks made up with batting as a starter. This way you can check your tension at the back. Do a couple of test swirls to get the feel of it. Perhaps even make up a swirl template and practice the movement.
It’s important to:
Baste your quilt.
Be sure you have a new needle. In this case we used 90/14.
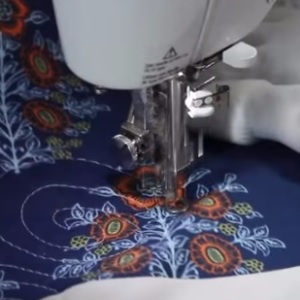
A home domestic sewing will do, as long as you are able to drop the feed dog down, in order to free motion quilt.
A free motion foot on your machine.
Stitch length :- Zero
Thread:- 50 weight.
A bunch of ready wound bobbins! At least 10!
A table tray on your machine that gives you a nice surface area to maneuver your quilt as your swirling.
A good work surface area for ease of handling. Fabric should never hang off the side of the table while stitching.
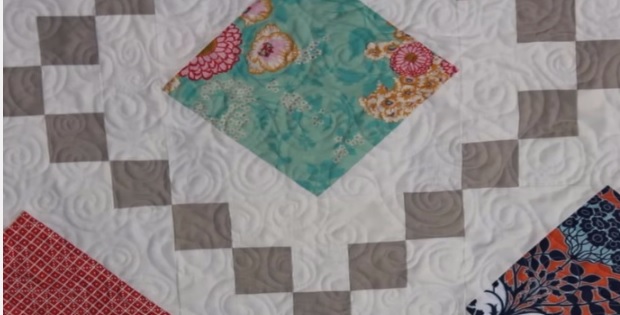
If to can imagine an ariel view of your quilt… divide the quilt into four sections (in your minds eye). Start working the free motion quilting swirl from the centre out and towards the edge. It’s almost like a division line to the first quarter that you will swirl on. Once completed work on through the next quarter.
To start stitching: Begin with securing the first stitches by moving back and forth. Then slowly start to stitch the swirl. Don’t move too quickly or the stitches will be too far apart.
The swirl: Start by going around in a circle and forming the point of the swirl. Then backing out of the point and into a circle again. Then in one continuous movement into the next circle again.

Tip: Try to keep your stitches and swirls as consistent in size for the entire quilt.
The biggest thing towards success of your swirls is to be able to move the quilt freely.
As you move into the next area, follow the lines of some the swirls you’ve already made. This little trick really helps if you find yourself in an awkward spot and you’re not sure where to move on from there. Simply follow the lines of the swirls already there, then go into the next circle to begin the next swirl.
Watch this video for the full scoop on free motion quilting the swirl.
Images:Youtube Melanie Ham See Basting A Quilt Here


