
How To Make A Quilt Sleeve To Display Any Size Quilt
And a Great Method To Attach The Sleeve
A wall quilt makes a striking display and becomes the art in your home. Try this easy method to make a quilt sleeve to fit any size quilt, which can be done in less that an hour and hangs the quilt perfectly. While it might appear to be a matter of stitching a strip of fabric closed to simply hold a rod, here are a couple of tips that will render great results.
For extra large quilts cut the sleeve from a ‘Wide Back’. It’s fabric that has a width of 107″ and will always provide exactly the length needed without having to join pieces of fabric. Its great to use even for smaller quilts and when you want to make a lot of sleeves.
Cindy Cloward of Riley Blake Designs says that quilt sleeves are 4 inches wide. To get the right sleeve length, measure the width of the quilt, and minus 4 inches, which will allow 2 inches each shorter each side.
Cindy demonstrates stitching the sleeve using a serger, however this could be done on a regular sewing machine just the same. Simply add 1 inch to the length of the sleeve. Begin by folding each end over twice and stitch all 3 layers. Then stitch the full length of the sleeve with wrong sides together.
When pressing, place the seam in the middle of the sleeve, and press the seams open. That part will be up against the back of the quilt and the seam won’t be seen at all!
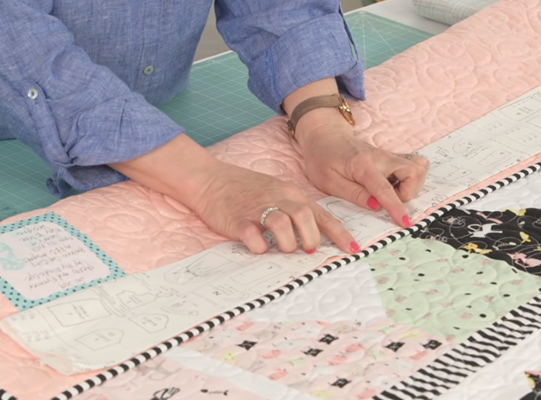
To sew the sleeve on to the quilt, place the sleeve on the back of the quilt, and center it so the spaces each side are even. Hand stitch the full length of both sides of the sleeve by catching just the quilt backing, being sure that no stitches are showing on the front of the quilt. It’s really quick to stitch on. The secret is to use polyester thread as it is much stronger than 100% cotton.
The sleeve sits firm, and strong enough to hang, plus it is neatly finished either end. In the video Cindy shows how to make and attach the sleeve from start to finish.


