Star Cakes Layer Cake Quilt Loving Every Minute Of It
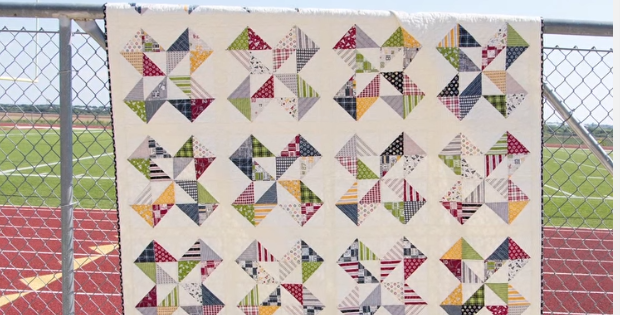
Layer Cake Quilt Fever.
Make a layer cake quilt with a Dutch Pinwheel. One is a solid layer and one is printed. Trim the 10 inch square layer to 9.5 inches to make sure they’re square. That way there’s no risk of distortion.
It’s simply a matter of choosing your prints, and co-ordinating the colors to make up your layer cake quilt.
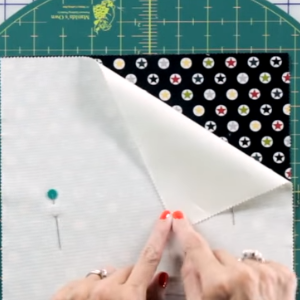
The thing with layer cakes is that once you have them in your hands, you get all feverish to get started. Then you get to make them our favorite half square triangles, and … well after that, the sky’s the limit for your design.
The dutch pinwheel can be a multitude of color combo’s. The results are always quite mesmerizing. Start with trimming down your square to 9.5 inches. Simply put 2 squares right sides together, and trim both with a rotary cutter. Using a rotating cutting mat makes all the difference. By turning the mat instead of the fabric, you reduce the risk of moving your squares.

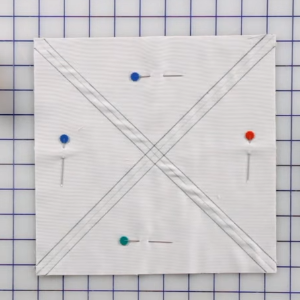
Mark two lines across, and cut into 4 quarters. Cut again on the diagonal to get half square triangles.
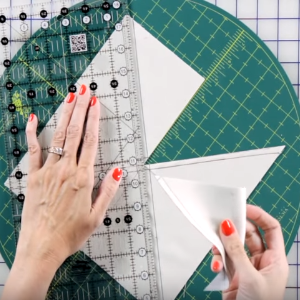
With fabric right sides together, stitch. Press. If you’ve noticed the iron that Kimberly is using in the video, this is the iron here.
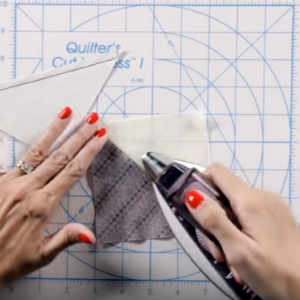
Assemble your squares… Stitch
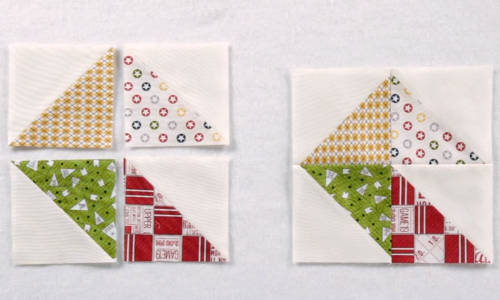
See the Dutch pinwheel here
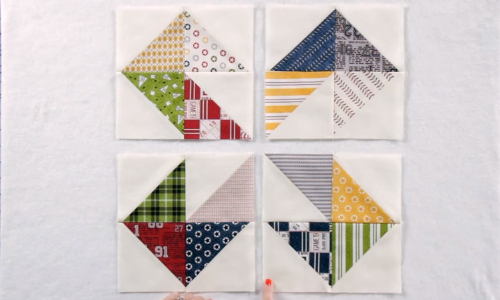
This is a great video tutorial on making a layer cake quilt with really great ideas.
Get The Rotating Rotary Mat Here
Get The Mini Iron Here
We tried leaving the blocks 10 inches but found that if we used a Layer Cake, each print was not a perfect square nor was it 10 inches. That happens with pre-cuts. They are great shortcuts, but can sometimes be distorted. Therefore we chose to make them perfect squares by trimming them down.
Tip
Frixion pen marks reappear in cool (refrigerator cool) temperatures. That’s why I don’t use them. You never know what temps your quilt will be exposed to over its lifetime. Use a simple chalk marker for mark that won’t come back.


