Chevron Wall Quilt With A Twist Keep It Scrappy Put Together In A Weekend
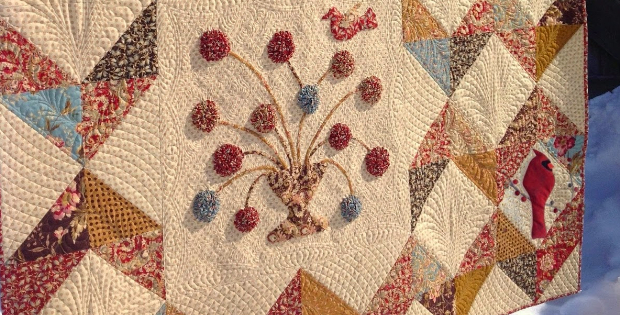
Unique Chevron Wall Quilt From A Single Layer Cake And A Bit Of Yardage.
It’s amazing, when you take a closer look at this Chevron, at how easy a quilt this is! It’s a matter of half sqaure triangles to make the chevrons. Add a twist with the appliques like the faux ruched flowers and the bird, turning this wall quilt into a little work of art.
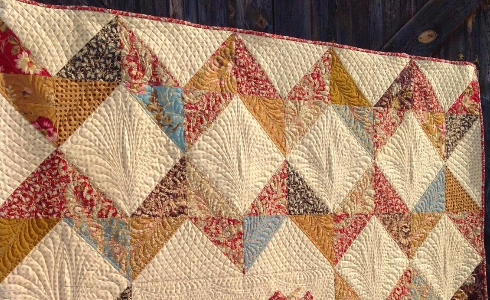
The beautiful Heart’s Content fabric by Laundry Basket Quilts was used for the quilt in this pattern tutorial. However, with this wall quilt, and those half square triangles, you could put this delightful and classy wall hanging together with any fabric selection and it would still be a stunner. With your own fabric, print and color combo’s, it would truly be just one of a kind. Imagine this up on the wall.
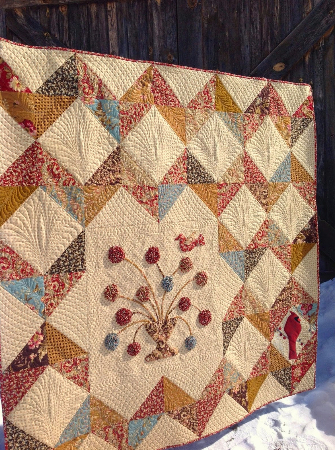
The vase of flowers is just delightful. Then to go ahead and put flowers in the vase, a quaint bird to add. Sigh…
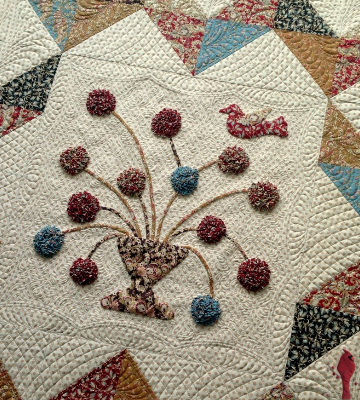
The quilt can easily be made in a weekend , without the applique. The chevron alone makes an amazing quilt. As a wall quilt, the flower basket and the sweetest touch… the bird… is a delight, and would be totally satisfying to make. The ruched flowers quite a ‘twist’ to add to a quilt and totally gorgous! The entire quilt is truly a work of art, quite inspirational. To think it’s classified ‘easy’.
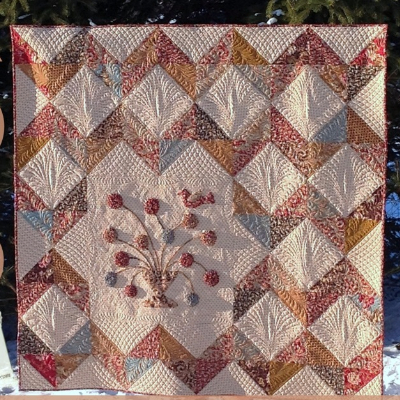
For the quilting Karen used The QP Curve Templates to help create these breathtaking designs and done on her domestic sewing machine… not a longarm!
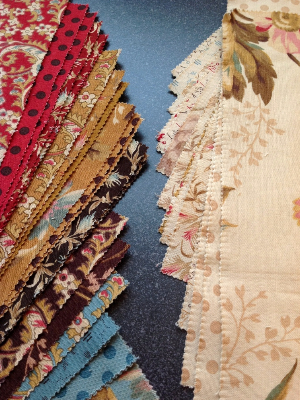
The tutorial covers with or without the applique. The fabric guide to get the right HST combinations is a lifesaver, clearing up any guessing totally. Then the tip on the Red Paisley to fold a little more red into the quilt is “gold”!
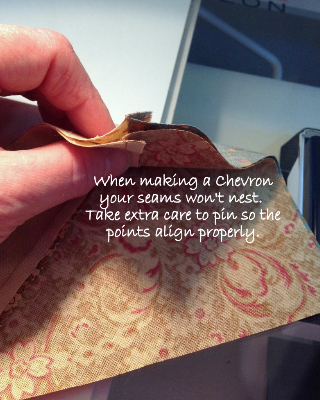
Another tip when making a chevron…, the seams won’t nest. Take extra care to pin so the points align properly. Thank you Karen.
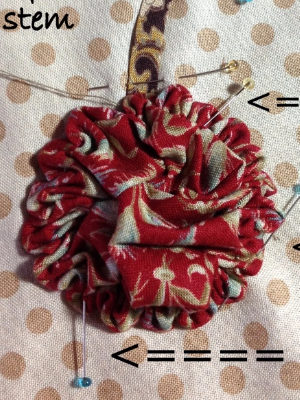
There’s an add on tutorial for making biased stems using a bias tape measure as well as binding basics. The flowers look very professional.
Honestly, one of the most complete tutorials around, Karen covers everything.
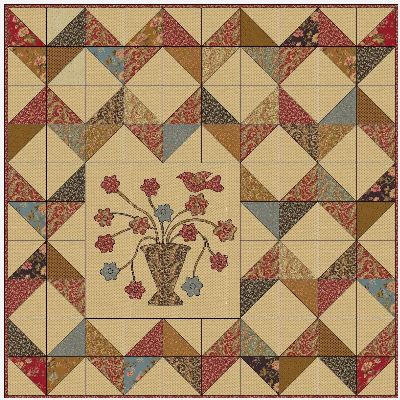
The quilt, just beautiful. The finished quilt size is 60″ x 60″.
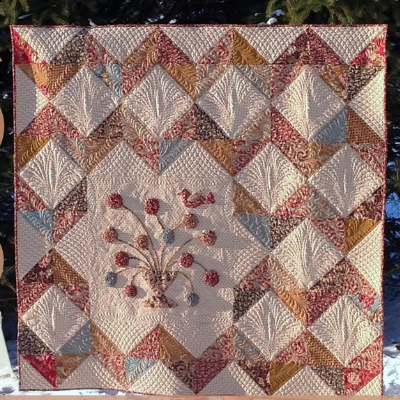
Two videos on Karen’s quilting using the QP curved templates:
Watch the Marking Curved Crosshatch Video (Part 1)
https://www.youtube.com/watch?
Watch the Stitching Curved Crosshatch (Part 2)
https://www.youtube.com/watch?


