Make This Easy Design Board And Enjoy Creating Even More
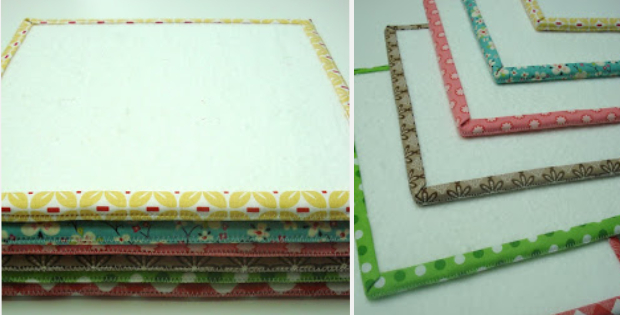
Need A Design Board? Make This One Easy
What a great idea. Make your own design board. It’s so easy and you can make as many as you like. These measure 10″ x 10″ for making 6″ blocks. Using this idea is so easy and you can make it any size.
Lori from Bee In My Bonnet suggests getting a foam core board at any office supply store.
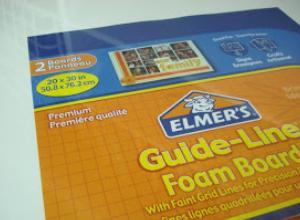
For these Lori used the Elmers brand from Walmart. Comes two in a pack and each measure 20″x 30″ and 1/4″ inch thick. This will provide enough to make six 10″ x 10″ boards.
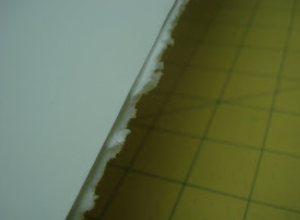
Use an old rotary cutter blade to cut the boards to size. It’ll wreck the blade so don’t use a new one. Measure and score both sides of the board. The board then snaps easily at those cut lines.
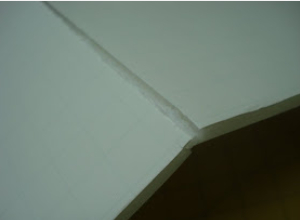
Trim away any excess foam.
Lay a thin batting down and lay the foam side of the board down on the batting. Cut the batting about one inch bigger than the board all the way around. Use a hot glue gun and place a little glue on the edge of the board. Not to too much since it shouldn’t run down the sides. Pull the batting quite firmly to make sure everythings nice and smooth. Press the batting down firmly, smoothing out as you go. Do opposite sides of the board first making sure the batting is nice and smooth. Then glue the remaining two sides down.
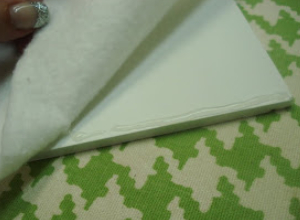
Only one side of the board needs batting. Once the glue is dry, trim excess batting away, in line with the edges of the board. Done. Every quilter needs a design board.
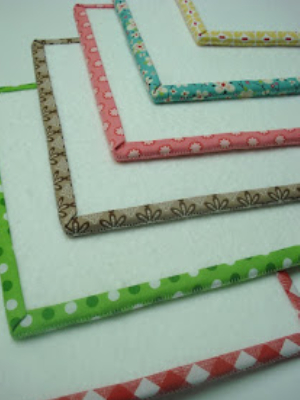
Now for the fun part. Make it pretty with a fun cover.
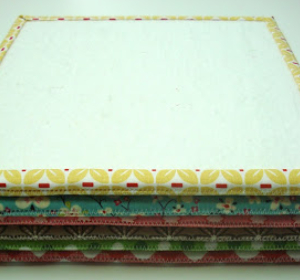
Thanks for sharing this neat idea Lori.


