Miter A Striped Inner Border To Look It’s Best
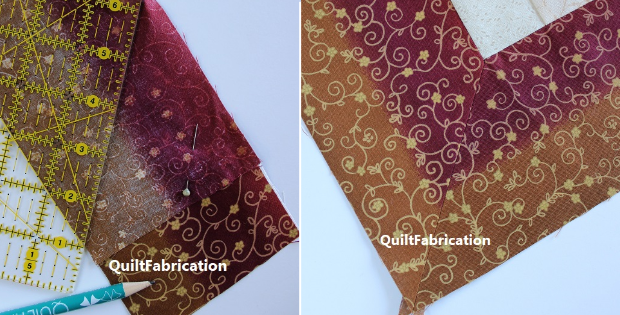
It’s As Easy As The Usual Strip Method
If you have chosen a striped fabric for the inner border of your quilt project, the corners look so much nicer if the print, as well as the colors, were to ‘follow’ all the way round the quilt, including the corners. A mitered corner ‘flows’ without overlapping the fabric design.
Unlike cutting for a strip method border, for a mitered border, all strips are cut to the side lengths of the quilt, plus additional lengths to ensure an overlap of fabric at the corners.
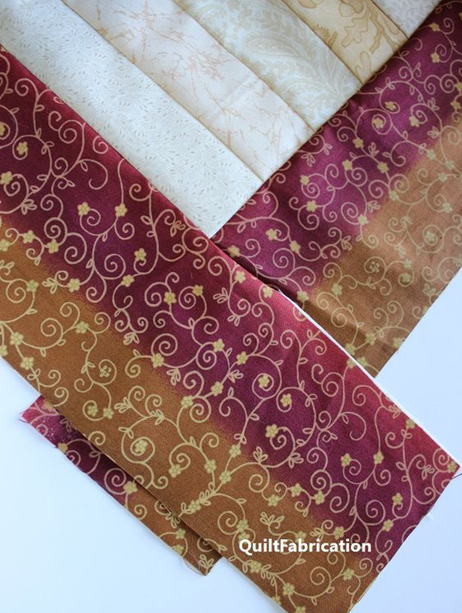
Susan of Quilt Fabrication has had great results using her calculation to get overlapping lengths to miter inner border corners. Susan explains her calculation:
All borders strips are cut to the quilt top side lengths, plus an additional 2x the border width plus 1″. The 2x the border width makes sure to cover each adjoining border, and the extra 1″ is added insurance.
Here’s some math: my finished border width is 4″. To each strip, I’ll add 2 x 4″ + 1″ = 9″, giving the strip extra overlap on the adjoining borders.
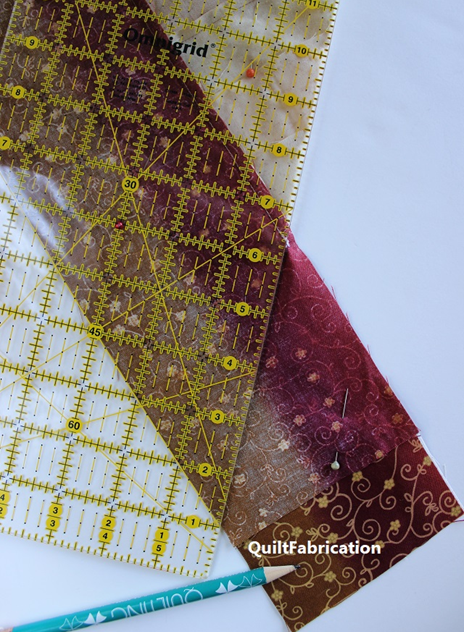
Then stitch all borders to the quilt top, starting and stopping 1/4″ from each edge at the quilt top corners. Miter as usual by stitching a 45 degree angle, starting from the seams corner to the edge of the borders. Don’t pile up stitching in the corners. It’s best to leave a half stitch gap to allow the corner seams to have space to relax.
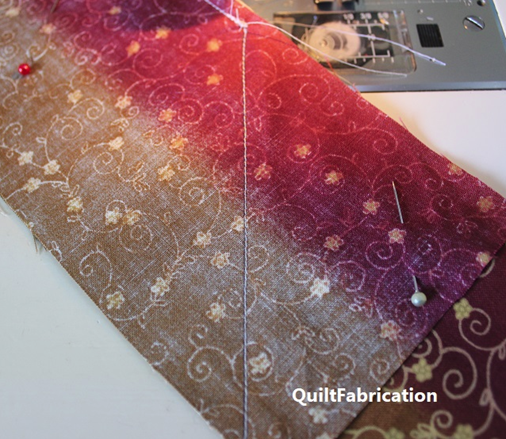
Then, Susan mentions, checking to see if there are no tucks or gaps and the miter lies flat. If not, unstitch and repeat, being sure that the miter is marked at a true 45 degree, and not slightly off. Trim excess fabric at a 45 degree angle, and press seams open.
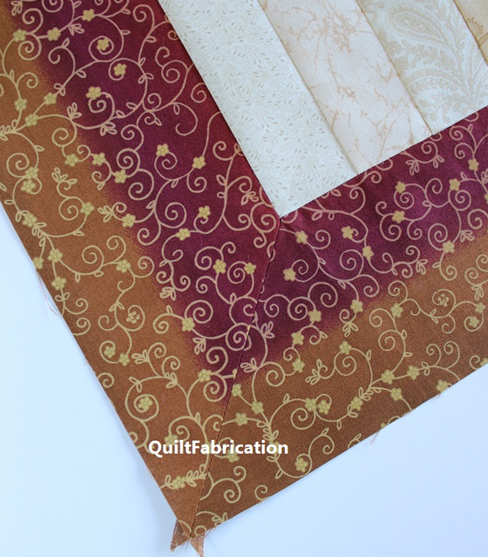
In her free tutorial Susan explains how to fold the quilt top on a 45 degree angle from the corner, and line up the border seams and border edge. A great method striped inner borders!


