How A Triangle Square Up Ruler Makes You A Wizard
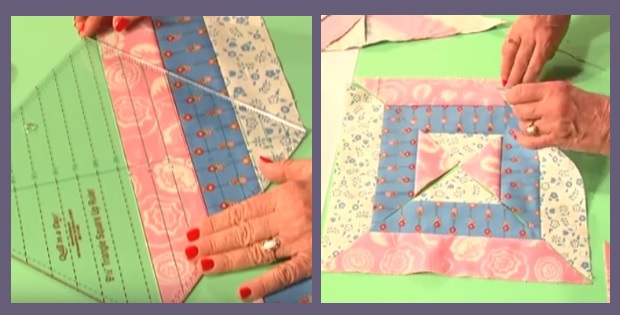
Triangle Square Up Ruler Makes It Twice As Nice!
A quick guide on using a triangle square up ruler. This quilting ruler is a nine and a half inch. To begin with turn it so that the even number 9 is across the top.Take three strips and sew them together into a strip. Press the seams.
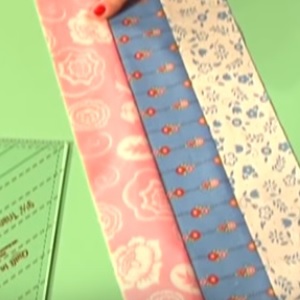
Lay the quilting ruler on the bottom and the tip should touch the opposite end of the strip.
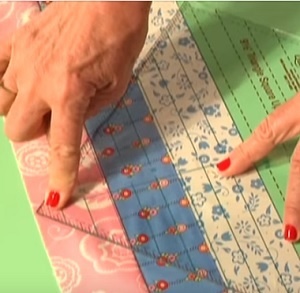
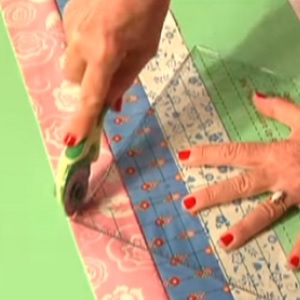
Then cut the fabric both sides of the ruler. A rotary cutter does the trick.
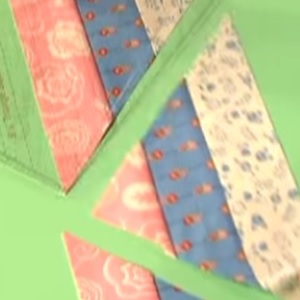
Once you have your four triangles, simply assemble them into a block! Beautiful!
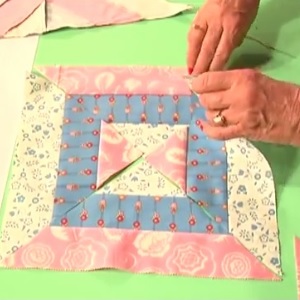
Once you’ve stitched the triangle to form the block turn over to view the seams that meet in the middle of the block.. The trick is to take out the stitching from the end of the fabric right up to the stitch line. Take out the stitches on both sides of the seam, taking care not to remove the stitches from the rest of the seam that hold the block together. Open up the seam (right in the middle of the block) and press down with your finger quite firmly. You will notice a type of a ‘swirl’ form, holding your block together. Neat!
Go ahead and try making another type of block. Make a straight cut across the remaining strips. Cut them at two and half inch segments. With three different 9 inch segments you can make great nine block patches!
Note: Press the seam away from the center.
There’s no easier way to make perfect half triangle squares and quarter triangle squares.
Watch the video tutorial on exactly how it works. Thanks for sharing Eleanor.
Guide:Quiltinaday.com Images:Youtube quiltinaday


