Two Super Duper Easy Methods To Quilt Feathers
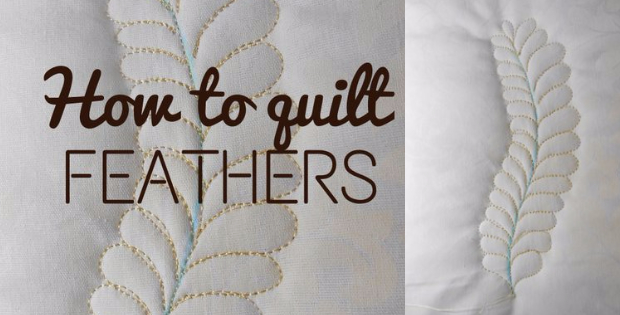
After This You May Find Quilting Feathers Easier Than You Think.
If quilted feathers are one of your favorite, learn how to quilt a feather so there is no need to send your project out for finishing. Feathers can take a simple quilt and send it soaring over the top with texture and visual interest. The best part is, with a little practice anyone can create beautiful flowing feathers. Most find straight line quilt fairly easy especially when using a quilting bar, and even free motion quilting becomes quite manageable using a walking foot. Try this easy method to quilt a feather.
Valerie Smith, guest blogger over at APQS started with drawing a feather and after some practice drew the feather in one smooth motion without lifting the pencil. Once comfortable with drawing feathers it’s time to move on to the log arm. I’ve seen successful feathers even on a domestic machine using a darning foot, also know as a free motion quilting foot, available here.
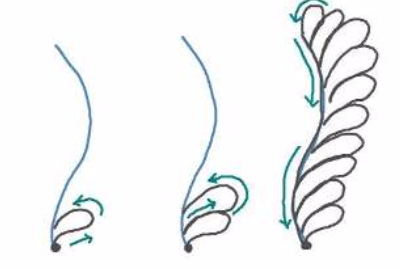
There are two methods and neither is right or wrong. It’s only to find which one works for you. Using a water soluble pen, draw the spine.Then create the feather plumes all the way up the right hand side, coming back down the left hand side till the feather is completed.
Follow these simple steps for method 1.

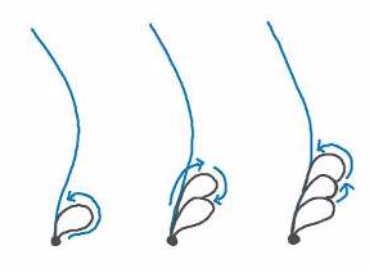
The second method is a great idea where Valerie suggests not backtracking over the first plume, but to push your stitching outward away from the first plume and go on to create another. Backtrack over the line of the first plume, then stitch outwardly again to create another feather plume. This is a great method and has a much nicer flow.
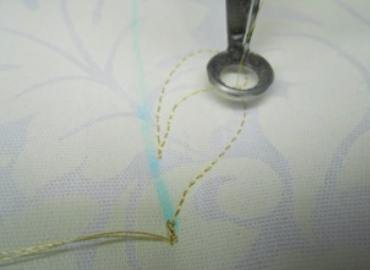
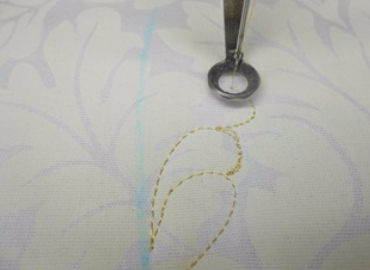
Watch these two video tutorial on method one, then method two and see how to do both.
Method 1.
Method 2.
A few practice runs using these two methods will so have you on the way to making heirloom quilting designs.


