
Machine Binding With An Accent Flange And Crisp Mitered Corners
And For Quilts That Will Be Well Worn And Washed
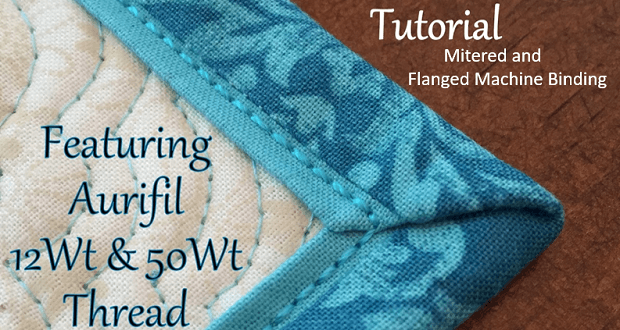
Machine binding saves time and provides secure stitching, especially for quilts that need a lot washing such as baby quilts. Add a flange, and secure crisp mitered corners and you have a practical quilt that looks awesome. Slipping in a colorful accent addition to your binding is fun, surprisingly easy, and you’ll love the results!
For your binding fabrics, choose your primary and enjoy the art of matching the accent. It’s fun! The best part is that you’ll be making, attaching and finishing the flanged binding by machine, and securing perfect mitered corners. Since the top stitching shows in machine binding, the flange provides the perfect time to use a pretty Aurifil thread.

The accent provides an eye catching finish, and with machine binding it is no less durable than if you were to leave it out. Add a flange and machine finish your pot holders, table mats, and throws for the sofa, or any quilt that will take a lot of washing and wear. The addition of the flange may appear to be a lot of extra steps, but once you get the know how, you’ll wonder what the challenge was all about.
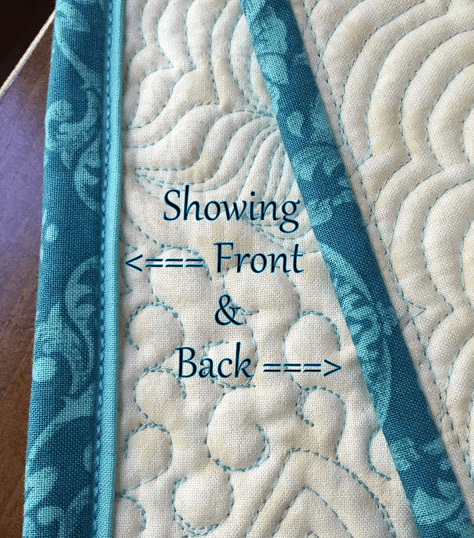
Karen from Redbird Quilt Co shares a technique to machine bind, add a flange and beautifully miter corners all in one step by step tutorial. In addition, a quick calculation to determine the length of your binding, cutting the width of the primary fabric at 1 7/16″ width, and the width of the accent slightly wider at 1 3/4″, allowing for that eye catching peep of color!
To prepare the binding, go on to piece the both binding strips with a diagonal seams, and layer the primary and accent strips right sides together, aligning one raw edge. When pressing the length of the ‘bindings’, Karen suggests not pressing the fold, so that it is not a flat edge, keeping a rounded fullness!
Karen explains to begin stitching the binding to the quilt:
When stitching, align the raw edge of the the primary fabric with the raw edge of the back of the quilt. Now fold the binding wrong sides together so both of the binding raw edges are aligned with the raw edges of the quilt back.
At this point Karen suggests watching Lisa Bongean of Primitive Gatherings video on how to add double fold binding to quilts.( 6 minute watch before continuing)


