Quick Tip To Sew Together Quilt Backings

A Quilt Back With One Fabric And Single Seam
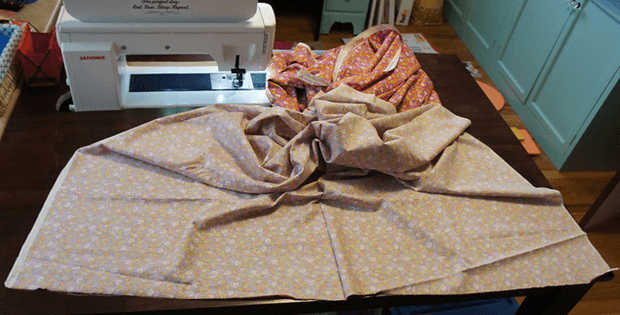
Use this neat trick to sew together backings for quilts that are made from a single large yardage cut of fabric. It removes the challenge of working with a long multiple yard cut of a single fabric that becomes really difficult to piece on a home sewing machine.
Using this method, you can use those yards of fabric from your stash that was bought at a great price. No need to cut the fabric in half only to sew it back together again, all the while taking the time to match up lengths of the long pieces, and pinning etc.

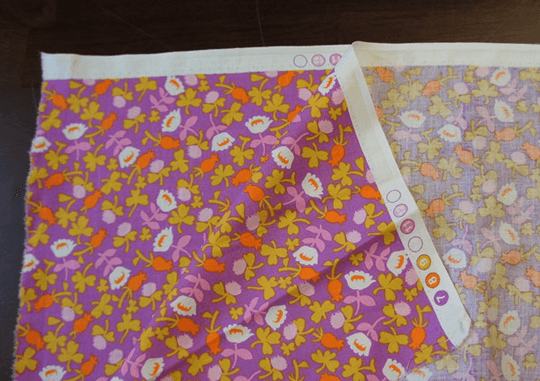
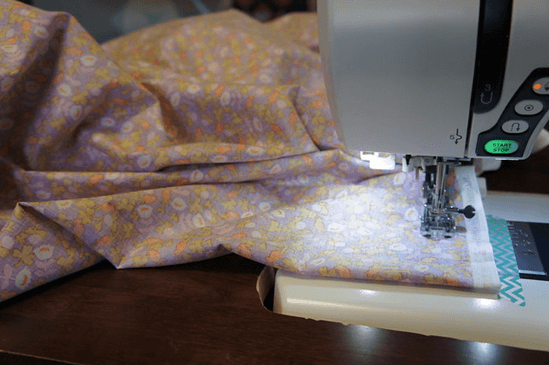
Begin by folding the fabric right sides together, and selvages together. Sew along the selvage edge with a generous seam allowance, so once trimmed, will save those pretty selvages for fun projects later. Press to set the seam, and also the fold, ready to be easily trimmed later.
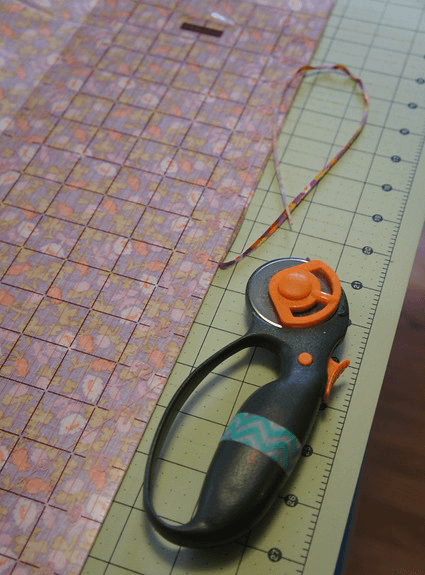
Angela lays the ruler at the quarter inch mark on the seam, and trims the selvedge edge the entire length of the seam. Then, at the folded edge, trim the slightest amount in order to separate the fabrics. Open up the fabric and you have one beautiful quilt back!
Angela Pingel of Cut To Pieces, suggests keeping the piece as one long cut for the entire time to sew the back together. You’ll notice that by sewing the fabric together, you will be sewing towards the fold, which is the exact middle of the length! And it happens without having to measure it all up.


Your resulting back will be 87″ + or – by length of fabric divided by 2. If you have 4 yds, you might get as big as 72″ x 88″, and 6 yds would yield 108″ x 88″.
It works for small scale prints, and solids, and Angel mentions having success with large motifs just the same! Angela also includes tips on the selveged edge, plus more how-to’s in her free tutorial.


