Ten Sewing Tips For Better Quilting
Sewing Tips That Really Count
pass this on to someone you think might need it.
If you’re an experienced quilter these little tips are just a reminder. If you’re new to the world of sewing then this is a good read.
#1. Stash.
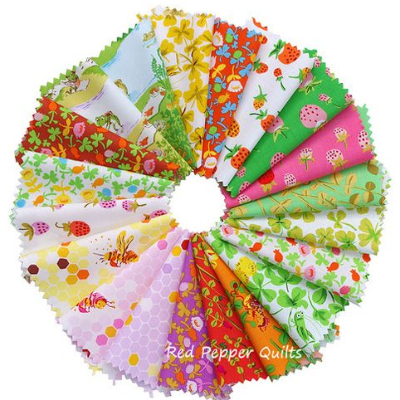
Small projects are great to use up stash. Don’t throw those precious bits away. There’s even been a beautiful quilt made from strings (fabric strings)
#2. Sewing Scissors
Sharp scissors is naturally part of the description. Your sewing scissors are one of your top priority tools. protect them well and you’ll get endless hours of loving service out of them. Never use sewing scissors to cut paper as it will blunt the scissors right out and be useless again on fabric. When you buy, try to buy the best quality for a few dollars more.
One addition to consider is a pair of fine-tipped scissors. They’re a welcome when it comes to working with small projects, and especially detailed work. They’re perfect for clipping curves and snipping ends.
Another equally valuable addition is a craft scissors. Your craft scissors are the worker bees of your sewing kit. They’re there for cutting anything BUT fabric and you’ll be reaching for them often. Ideally should be a moderate length that’s comfortable for cutting curves and corners. The demand will especially be for cutting out paper patterns and more so templates that are often a more sturdy type of material.
Pinking shears can be added to mix to cut edges and stop fraying of fabric. Use the pinking to trim seam edges. Pinking shears give a nice finish to a decorative edge too.
#3. Rotary Cutter.
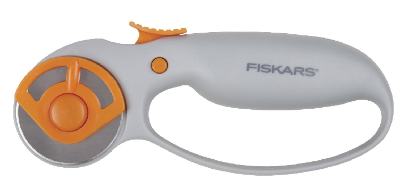
Can’t live without a rotary cutter and cutting mat. Great for svaing heaps of time when cutting through numerous layers of fabric such as for patchwork. Always cut fabric on a self sealing mat. Different size blades are available to interchange on the rotary cutter and these days there’s even a pinking available.
Get into a very healthy habit of always cutting away from yourself when using a rotary cutter. They are really SHARP!
Notice in may quilting videos quilters use protection gloves. When finished using the rotary always click in the safety clip.
#4. Sewing Machine Needles and Hand Stitching
There’s nothing more daunting than running out sewing machine needles at the height of your creativity… or any other time for that matter. They’re cheap. Buy a whole bunch of them. Be prepared to put in a new needle every time you start a new project.
There are three main categories for sewing machine needles.
Sharps, ballpoint and universal.
Use Sharps fo woven fabric.
Use ballpoint for knits
Use universal for all purpose sewing. Speaks for itself, this one does!
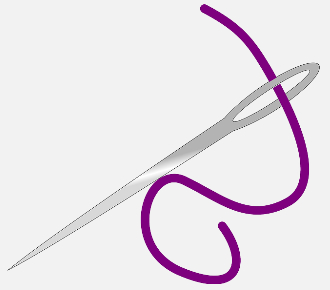
Needles for hand sewing are always a part of the project. No doubt there’ll be some embroidery and hand applique going on. The needle collection should have an embroidery needle included. You’ll know it by the longer eye making it easier to thread thicker embroidery cottons.
Now break down and use a needle threader if you’re struggling to see the eye, or even struggling to thread the needle at all. Push the wire loop of the needle threader threw the eye of the needle. Push the thread through the wire loop, and pull the wire loop back through the needle. The thread will simply follow through and thread the needle.
#5. Seam Ripper
A seam ripper is a comforter. Its the task that’s upsetting, not the tool. The seam ripper will get you out of tight situations by quickly undoing any stitching mistakes. There’s none to do the job the same as a seam ripper!
#6. Measuring Tape
Measuring tape… can’t do without that. And also a transparent ruler. Pays off big time when you need mark a straight line and mark smaller measurements.
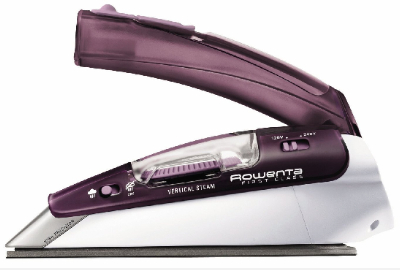
#7. Iron
Lets not forget to mention an iron. It is quite essential to press seams, hems too. You can’t do without an iron in order to apply fusible interfacing, transfers and appliques. Those mini irons are a good addition as they get into tight spaces, and little corners. Also great for making bias tape. Not THAT mini!!
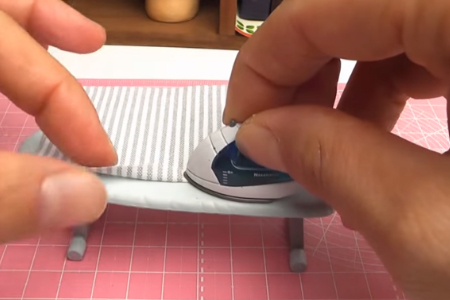
#8. Mini Ironing Board
Ever worked with a sleeve ironing board? They’re a great help since you can quickly grab it and set up on your work surface right there. Great for small projects.
#9. Pins
Those traditional short metal pins are still around and many will not do without them. The glass bead and colored plastic beaded pins serve a purpose. They’re a little longer and are so much easier to see when they have to be taken out.

#10. Sewing Machine
A sewing machine can saves heaps time and provide good firm stitching and finishing. The job can be done by hand just as well. In fact many projects are even better with hand stitching. Wield the best results from the sewing machine by getting familiar with the basics.
First make sure the tension is set right for the type of fabric you’re working with. Test the tension by stitching on a scrap piece of fabric and check the result.
Stiches should be smooth, even and regular on both sides. Refer to the sewing machine manual to adjust bobin tension and top thread.
For thicker fabrics use a longer stitch. Reduce the pressure on the presser foot so that thick fabric is able to move through the feeder more easily. Backstitching helps secure the beginning and end of stitching, especially seams that need a good anchor. Zig zag stitching helps to prevents fabric edges from fraying.
When sewing, pin the fabric as required ready for stitching. Place the pins at right angles to the seam. Most seams are sewn with fabric right sides together and raw egdes aligned.
Start sewing the seam, pulling the pins out just before they reach the needle. Sewing over a pin can break the machine needle. Not a nice feeling at all. It means putting everything aside. Replacing the sewing machine needle and rethreading the sewing machine again.
Best practice in stitiching a corner is to sew to the corner, stop sewing and leave the needle in the fabric. Lift the presser foot, pivot the fabric then drop the presser foot again and continue on.
Let the machine pull the fabric through as you stitch. This will prevent uneven stitches, stretched fabric and puckered seams.
Secure seams to prevent seams that will be under pressure by backstitching. at the beginning and the end of every seam. It’s a good habit to get into right from the start. Start stiching 3 or 4 stitches, then run the machine in reverse over those couple of stitches, then go forward again over the same stitches. That easy.
Note: The standard seam allowance for all projects is 1/2 inch (1.3cm) unless otherwise stated in the pattern instructions.
Imgs:patchabilities.com craftsome.blogspot.com

